How to connect the MCP server
Prerequisite - This tutorial assumes you already have Magic up running. If you don’t, visit Getting Started first.
Magic comes with an integrated MCP server, allowing you to connect AI clients such as Claude, Claude Code, Codex, Cursor, and anything else supporting the Model Context Protocol to your cloudlet. Once connected, the AI can discover and invoke your backend’s endpoints as MCP “tools” — and since the Hyperlambda Generator itself is exposed as a tool, the AI can even create new tools on demand, by generating Hyperlambda endpoints for you.
Installing the MCP server
The MCP server is delivered as two plugins you install through your dashboard. Open your dashboard, go to “Plugins”, and install the following two plugins.
- oauth - The OAuth 2.1 authorization server, allowing MCP clients to authenticate through the normal browser login and consent flow
- mcp - The MCP server itself, exposing your endpoints as tools
You can read more about installing plugins here. Once both plugins are installed, the MCP server is live, and its URL is your cloudlet’s domain followed by the path below.
https://YOUR-CLOUDLET/magic/modules/mcp/mcp
That URL is all you need. Magic’s MCP server supports OAuth 2.1 with automatic discovery and client registration, so there are no tokens to copy and paste — when you add the URL to your MCP client, it will open your browser, ask you to log in with your Magic username and password, and ask for your consent. Once you click “Allow”, the client is connected, and acts on your behalf, with your user’s roles.
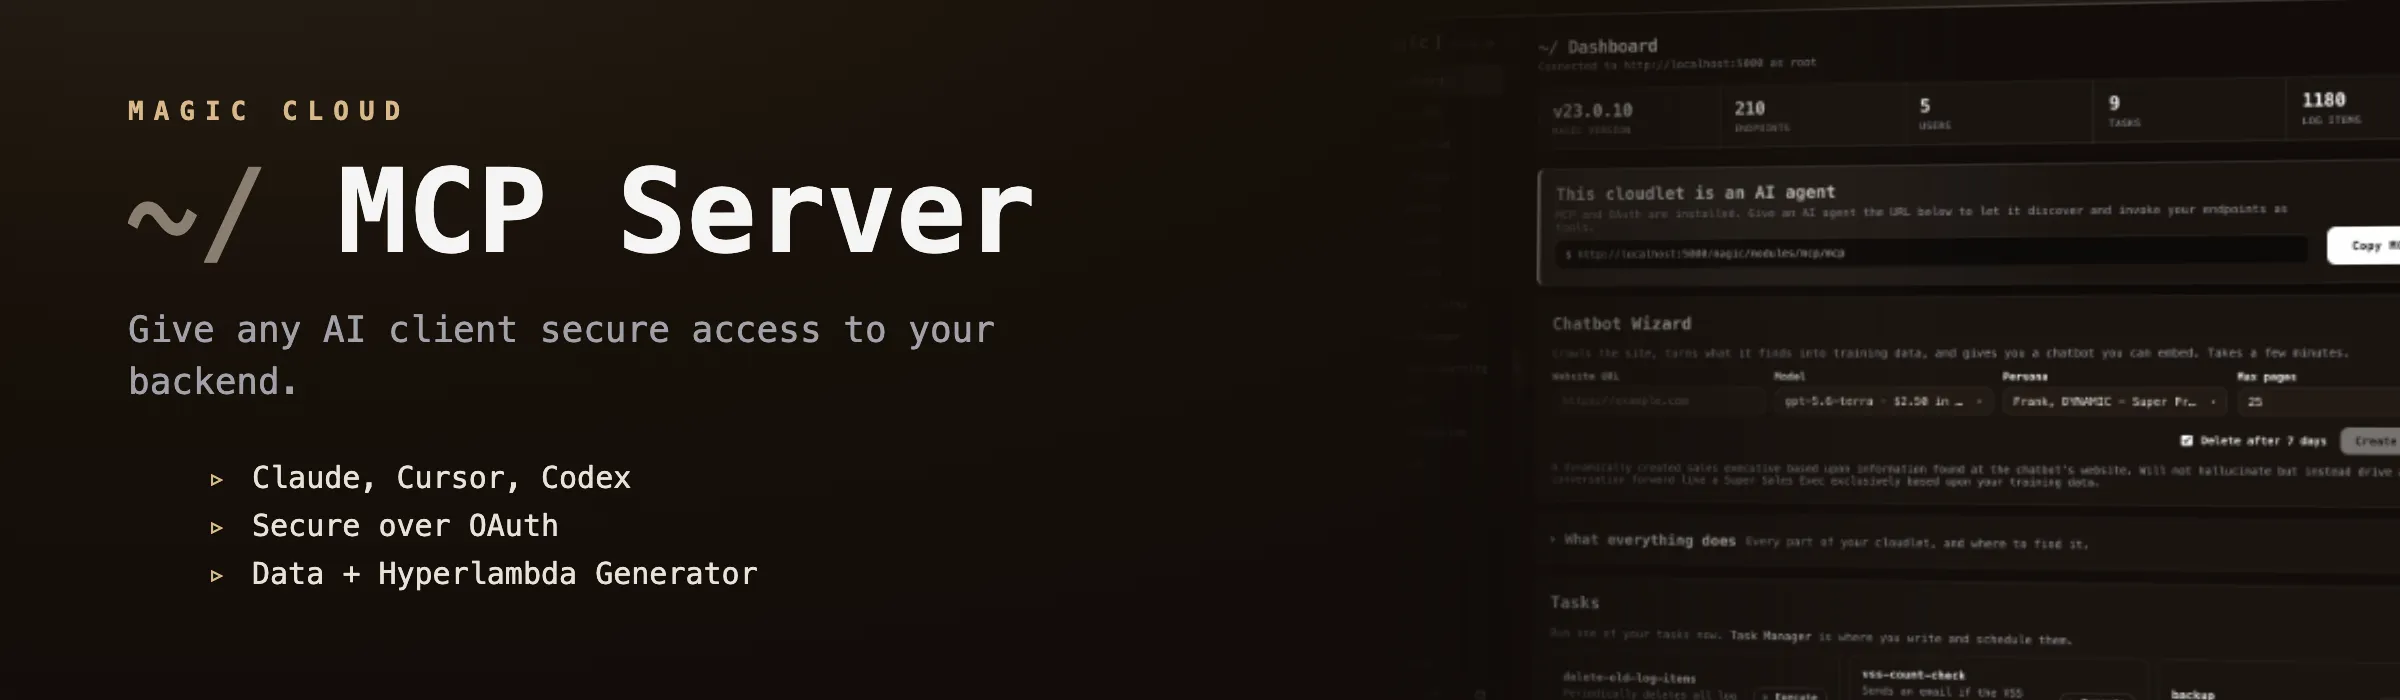
Once the MCP module is installed, your dashboard’s landing page shows a “This cloudlet is an AI agent” panel containing this exact URL, together with a “Copy MCP URL” button - so you never have to construct it by hand.

Adding the connector
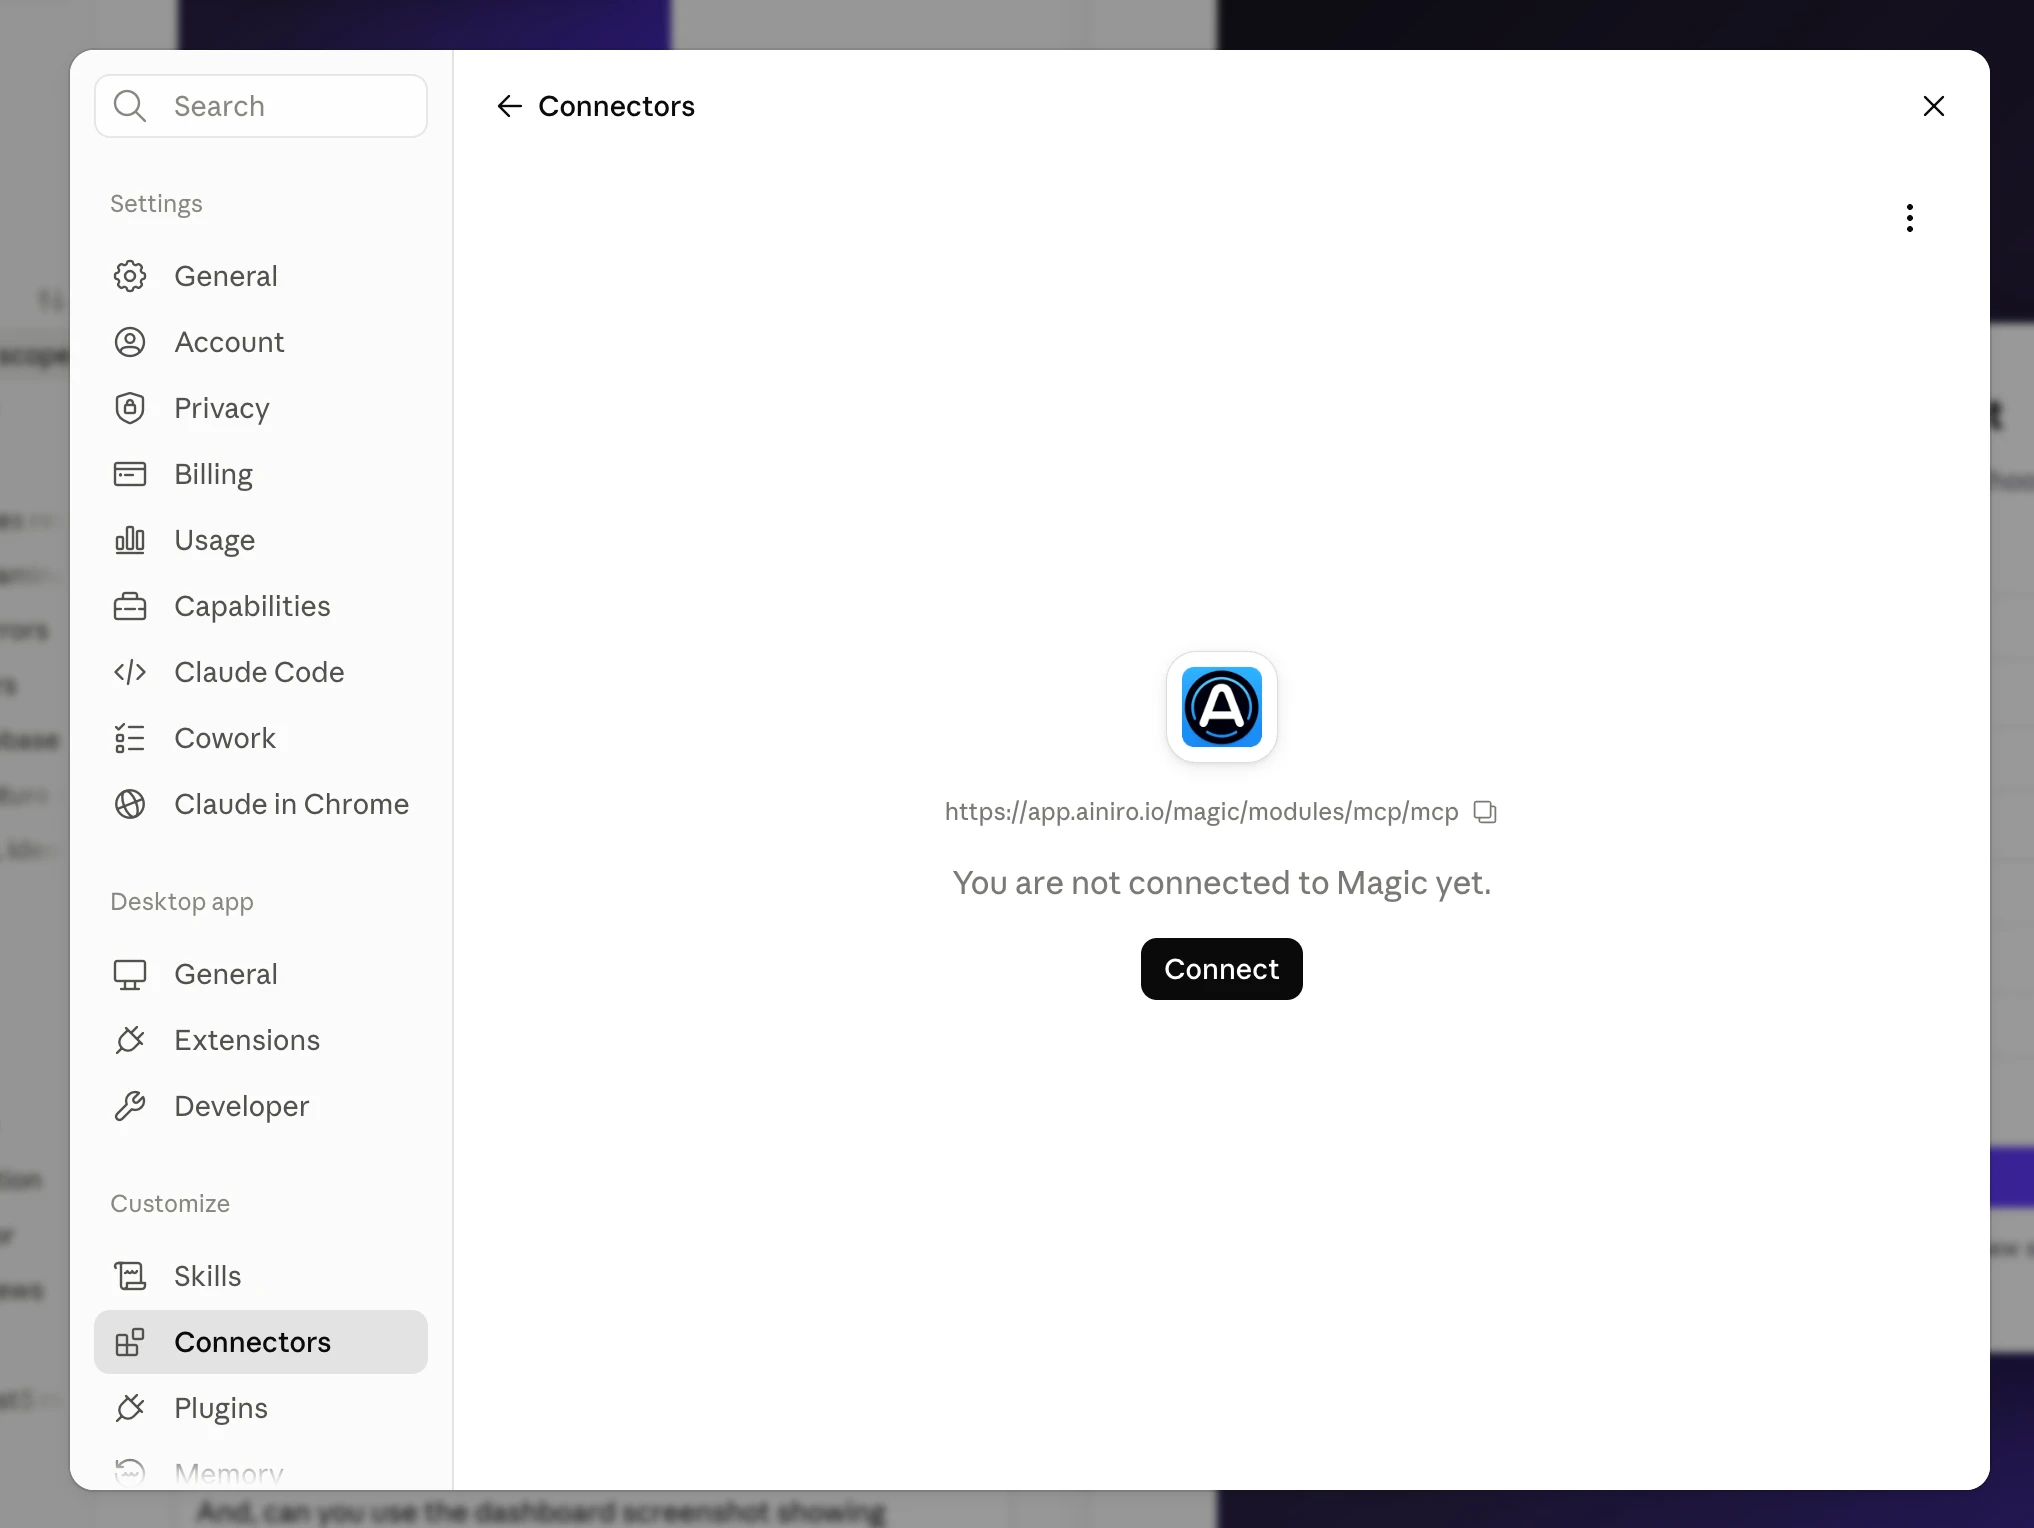
You add your MCP URL to your AI client as a custom connector. Below is Claude’s own “Connectors” settings, with the Magic MCP server added and ready to connect.
Connecting Claude
In Claude’s settings, go to “Connectors”, click “Add custom connector”, and paste in your MCP server’s URL. Claude will take you through the browser login and consent flow, and afterwards your cloudlet’s tools show up in Claude’s tool list.
Connecting Claude Code
Add the server with the following command.
claude mcp add --transport http magic https://YOUR-CLOUDLET/magic/modules/mcp/mcp
Then run /mcp inside Claude Code to authenticate, which triggers the same browser login and consent flow.
Connecting Cursor
Add the following to your mcp.json file.
{
  "mcpServers": {
    "magic": {
      "url": "https://YOUR-CLOUDLET/magic/modules/mcp/mcp"
    }
  }
}
Other clients supporting remote MCP servers over HTTP are configured the same way — the only thing they need is the URL.
What the AI gets access to
Every dynamic HTTP endpoint you have created beneath your cloudlet’s modules/ folder is exposed as an MCP tool, with a JSON schema derived from the endpoint’s declared arguments. This implies your existing endpoints — whether you created them with the Endpoint Generator, the Hyperlambda Generator, or by hand — become tools the AI can invoke, without you having to maintain a separate tool registry.
Authorization is enforced the exact same way as for any other HTTP client: the access token carries the roles of the user who consented, and each endpoint’s own authorization requirements still apply. If you consent as a user who cannot invoke some endpoint, neither can the AI. Notice, this also implies that if you consent as “root”, the AI has root access to your cloudlet — for day-to-day use we recommend creating a dedicated user with only the roles the AI actually needs, and consenting as that user.
Built-in tools the MCP server exposes
In addition to your own endpoints, the MCP server ships with a large library of built-in tools, grouped by area. Below is an overview of the most important groups, with a standout tool from each - your connected AI can use all of these, subject to your user’s roles.
- Hyperlambda - generate, verify and run backend code.
generate-hyperlambdaturns a plain-English description into working Hyperlambda,verify-hyperlambdachecks that code parses and only references slots that exist on your cloudlet, andexecute-hyperlambdaandexecute-filerun it. - Modules & endpoints - scaffold entire APIs.
crudifygenerates a complete CRUD backend wrapping a database, alongsidecreate-sql-endpoint,create-moduleandget-openapi-spec.invoke-endpointcalls one of your own endpoints by its URL and verb, so the AI can test what it just generated. - Database - work with SQL databases.
execute-sqlandselect-sqlrun queries, withget-database-schema,create-sqlite-databaseandcreate-database-backupfor management. - Files - read and write the cloudlet’s file system.
read-fileandcreate-fileedit files, withlist-files,search-filesanddownload-from-webfor the rest. Hyperlambda files saved throughcreate-fileare verified before they are written, so code that does not parse, or that references a slot which does not exist, never reaches your cloudlet. - Machine Learning - build AI chatbots and models.
crawl-websitescrapes a website into training data, withcreate-type,vectorize-typeandcreate-ai-function. It also gives the AI a long term memory -create-memory,search-memory,update-memoryanddelete-memorysave and recall facts, preferences, decisions and reusable Hyperlambda across sessions, by keyword and by meaning. See Memory. - Browser automation - drive a headless browser.
puppeteer-gotoopens a page andpuppeteer-contentscrapes it, with click, fill, screenshot and evaluate tools for everything in between. - Git & GitHub - version control your work.
git-commitandgit-pushsave changes, withgit-clone-repoandgithub-create-repo. - Users & roles - manage RBAC access.
create-user,list-users,create-roleandadd-to-role. - Tasks - schedule background jobs.
create-taskandschedule-task, pluslist-tasks. - Plugins - extend the cloudlet on the fly.
install-pluginandlist-plugins. - Misc & integrations - the glue that ties everything together.
invoke-httpcalls any external HTTP API,send-emailsends mail,execute-pythonandexecute-terminal-commandrun code,generate-imagecreates images,read-logreturns the most recent log entries with their full exceptions so the AI can diagnose a failure it caused, andlist-endpoints/list-slotslet the AI introspect what your cloudlet can do.
Every one of these runs with the roles of the user who consented, so the AI can only ever do what that user is itself allowed to do.
Letting an AI call code safely - Sandbox API endpoints
The Sandbox API generator creates endpoints that execute code their own callers supply, inside a whitelist you define per role. Such an endpoint is also an MCP tool, and its description tells the AI how to ask what it is permitted to do - by calling it with describe set to true. A role can be given complex business logic, held in Hyperlambda files, without being given raw access to the databases and APIs the logic uses. The Business logic without raw access section explains how.
An agent that is not connected over MCP can still discover these endpoints. Magic lists every Sandbox API endpoint it generates at /.well-known/hyperlambda-agent on your cloudlet - a JSON document with each endpoint’s path, verb, description, and the roles allowed to call it.
Creating new tools with AI
Because the Hyperlambda Generator is itself available over MCP, a connected AI client can create new endpoints for you — you describe what you want in plain English, the generator creates the Hyperlambda, and the new endpoint immediately becomes available as a tool. This turns your cloudlet into a backend the AI can both use and extend, while your data stays in your own database, behind your own authorization.
Below is what this looks like from Claude’s side — a single Magic MCP connector exposing 220 tools; every endpoint in the cloudlet, including the CRUD endpoints the AI itself generated, each with its own per-tool permission settings.
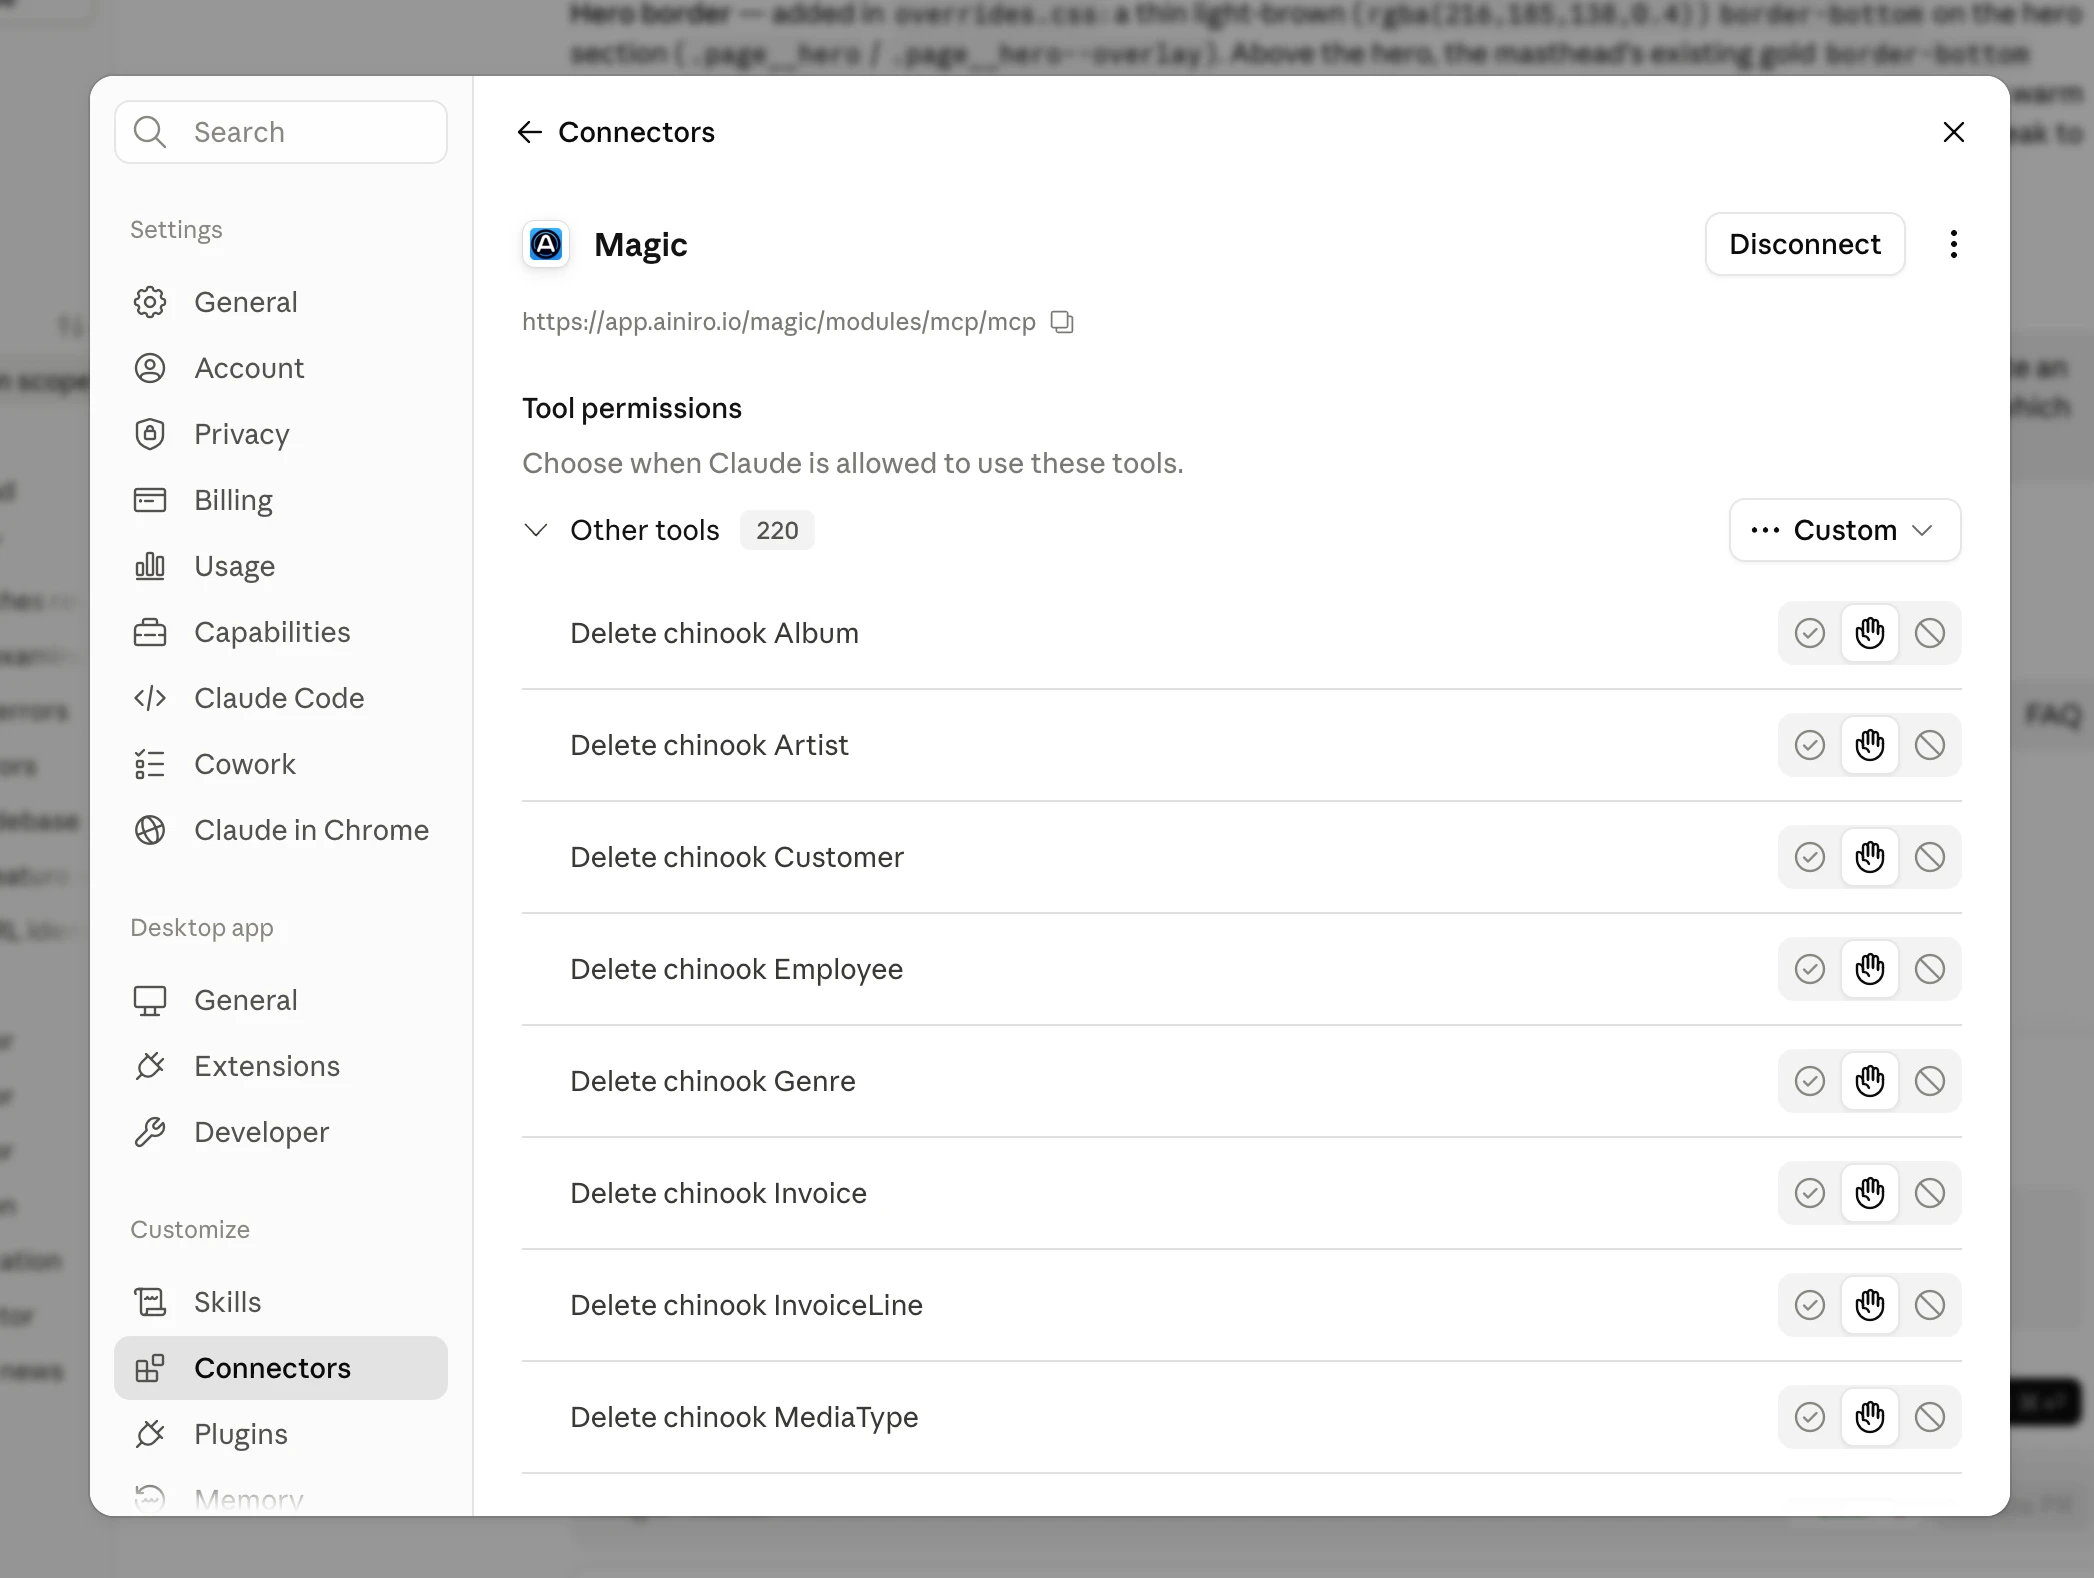
Notice, some clients cache the tool list at the moment you connect. If you have created new endpoints and they don’t show up as tools, disconnect and reconnect the MCP server in your client to refresh its tool list.
Troubleshooting
- Invoking the MCP URL without a token returns a 401 — this is correct behaviour, and is what triggers the OAuth flow in your client.
- Verify
https://YOUR-CLOUDLET/.well-known/oauth-authorization-serverreturns JSON referencing your real domain withhttps://— this is the discovery document MCP clients use to find the login flow. - The consent page asks for your Magic username and password — the same credentials you use for your dashboard.