Hyper IDE
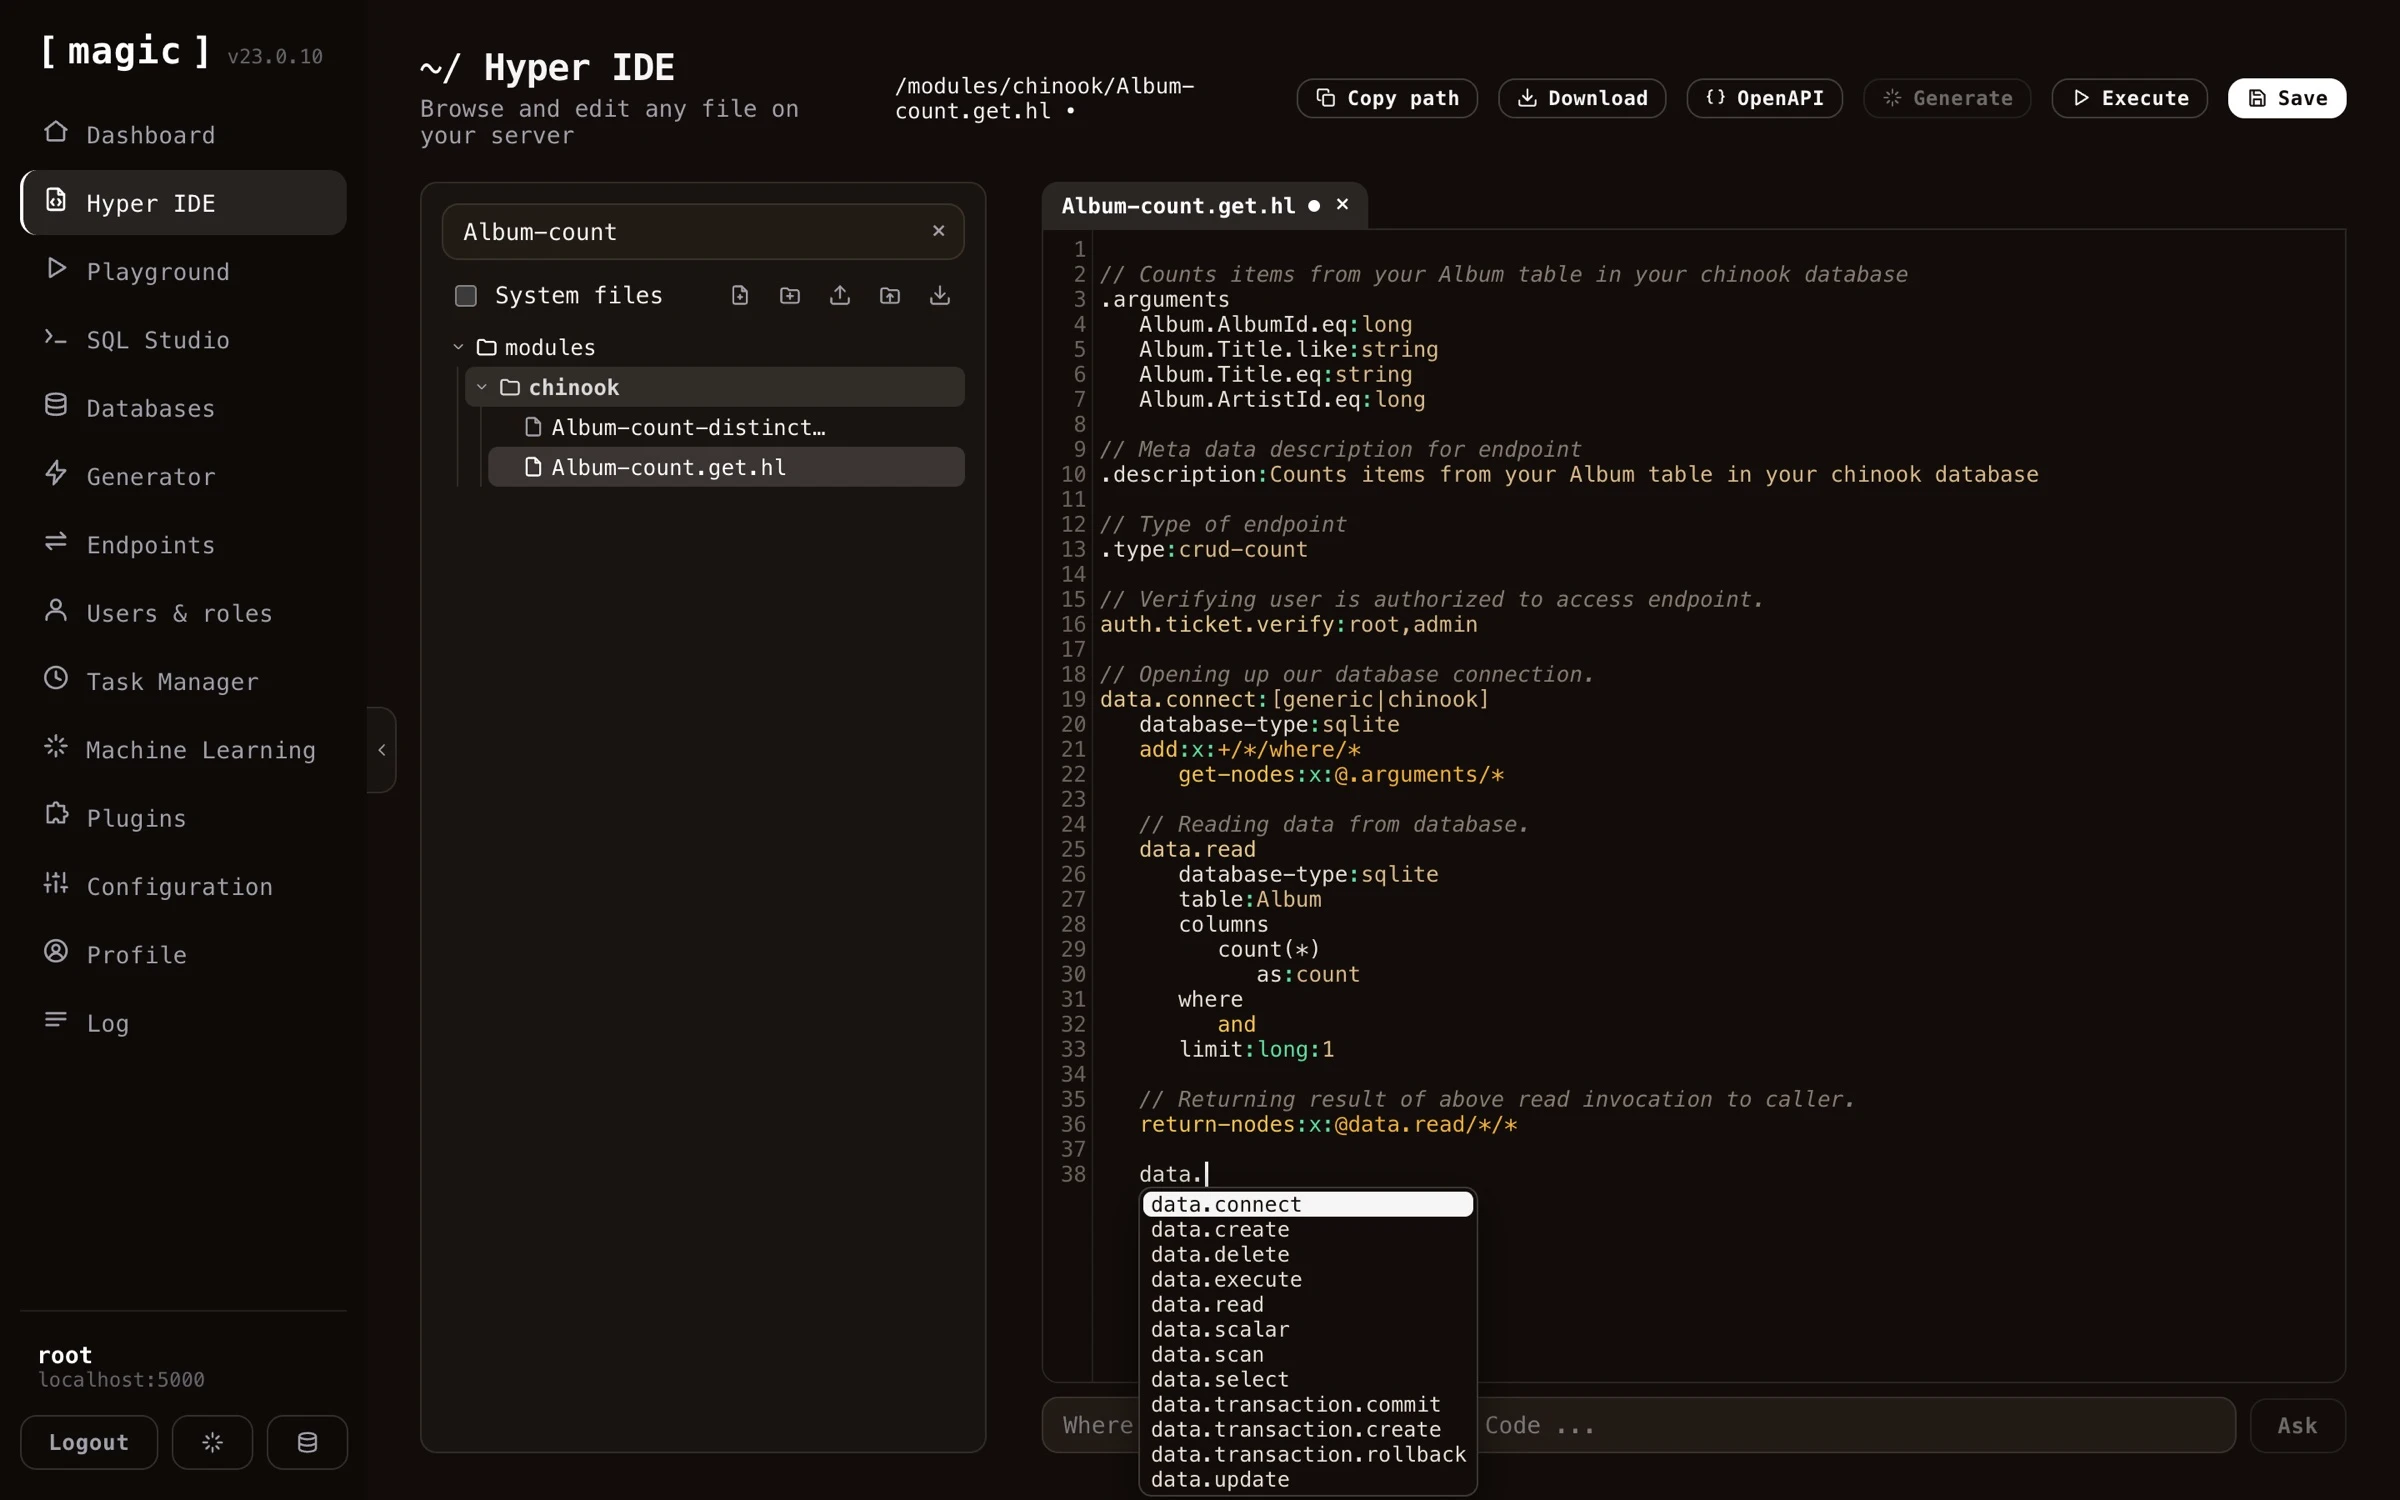
Hyper IDE is your “goto component” when you want to create your own modules using Magic and Hyperlambda. It’s a web based IDE, allowing you to edit your code, create new modules, and contains a lot of things you’re used to from a traditional IDE. It is also the natural extension of Magic’s endpoint generator, since it allows you to edit the Hyperlambda endpoint files after Magic has generated your CRUD backend. In addition, Hyper IDE allows you to use AI to generate code using “vibe coding” constructs.
The preferred way - MCP and an AI orchestrator
While Hyper IDE lets you write and generate code by hand, the preferred way to build with Magic is to let an AI agent do the work for you. Magic exposes an MCP server, and the recommended workflow is to connect an orchestrator AI - such as Claude, Cursor, Codex, Qoder, or any other MCP-capable harness - to your cloudlet, and use Magic as that agent’s development and deployment platform. Over the same MCP connector the agent can discover your endpoints, generate new Hyperlambda, create database schemas, wire up modules, and deploy them straight into production on your cloudlet. Hyper IDE then becomes the place where you inspect, tweak, and debug what the agent produced.
Generating code with AI
At the bottom of Hyper IDE’s editor you’ll find a bar labelled “Where the Machine Creates the Code”. Type an instruction here in plain English, click “Ask”, and Magic generates or modifies your code according to your instructions - similar to how GitHub CoPilot works.
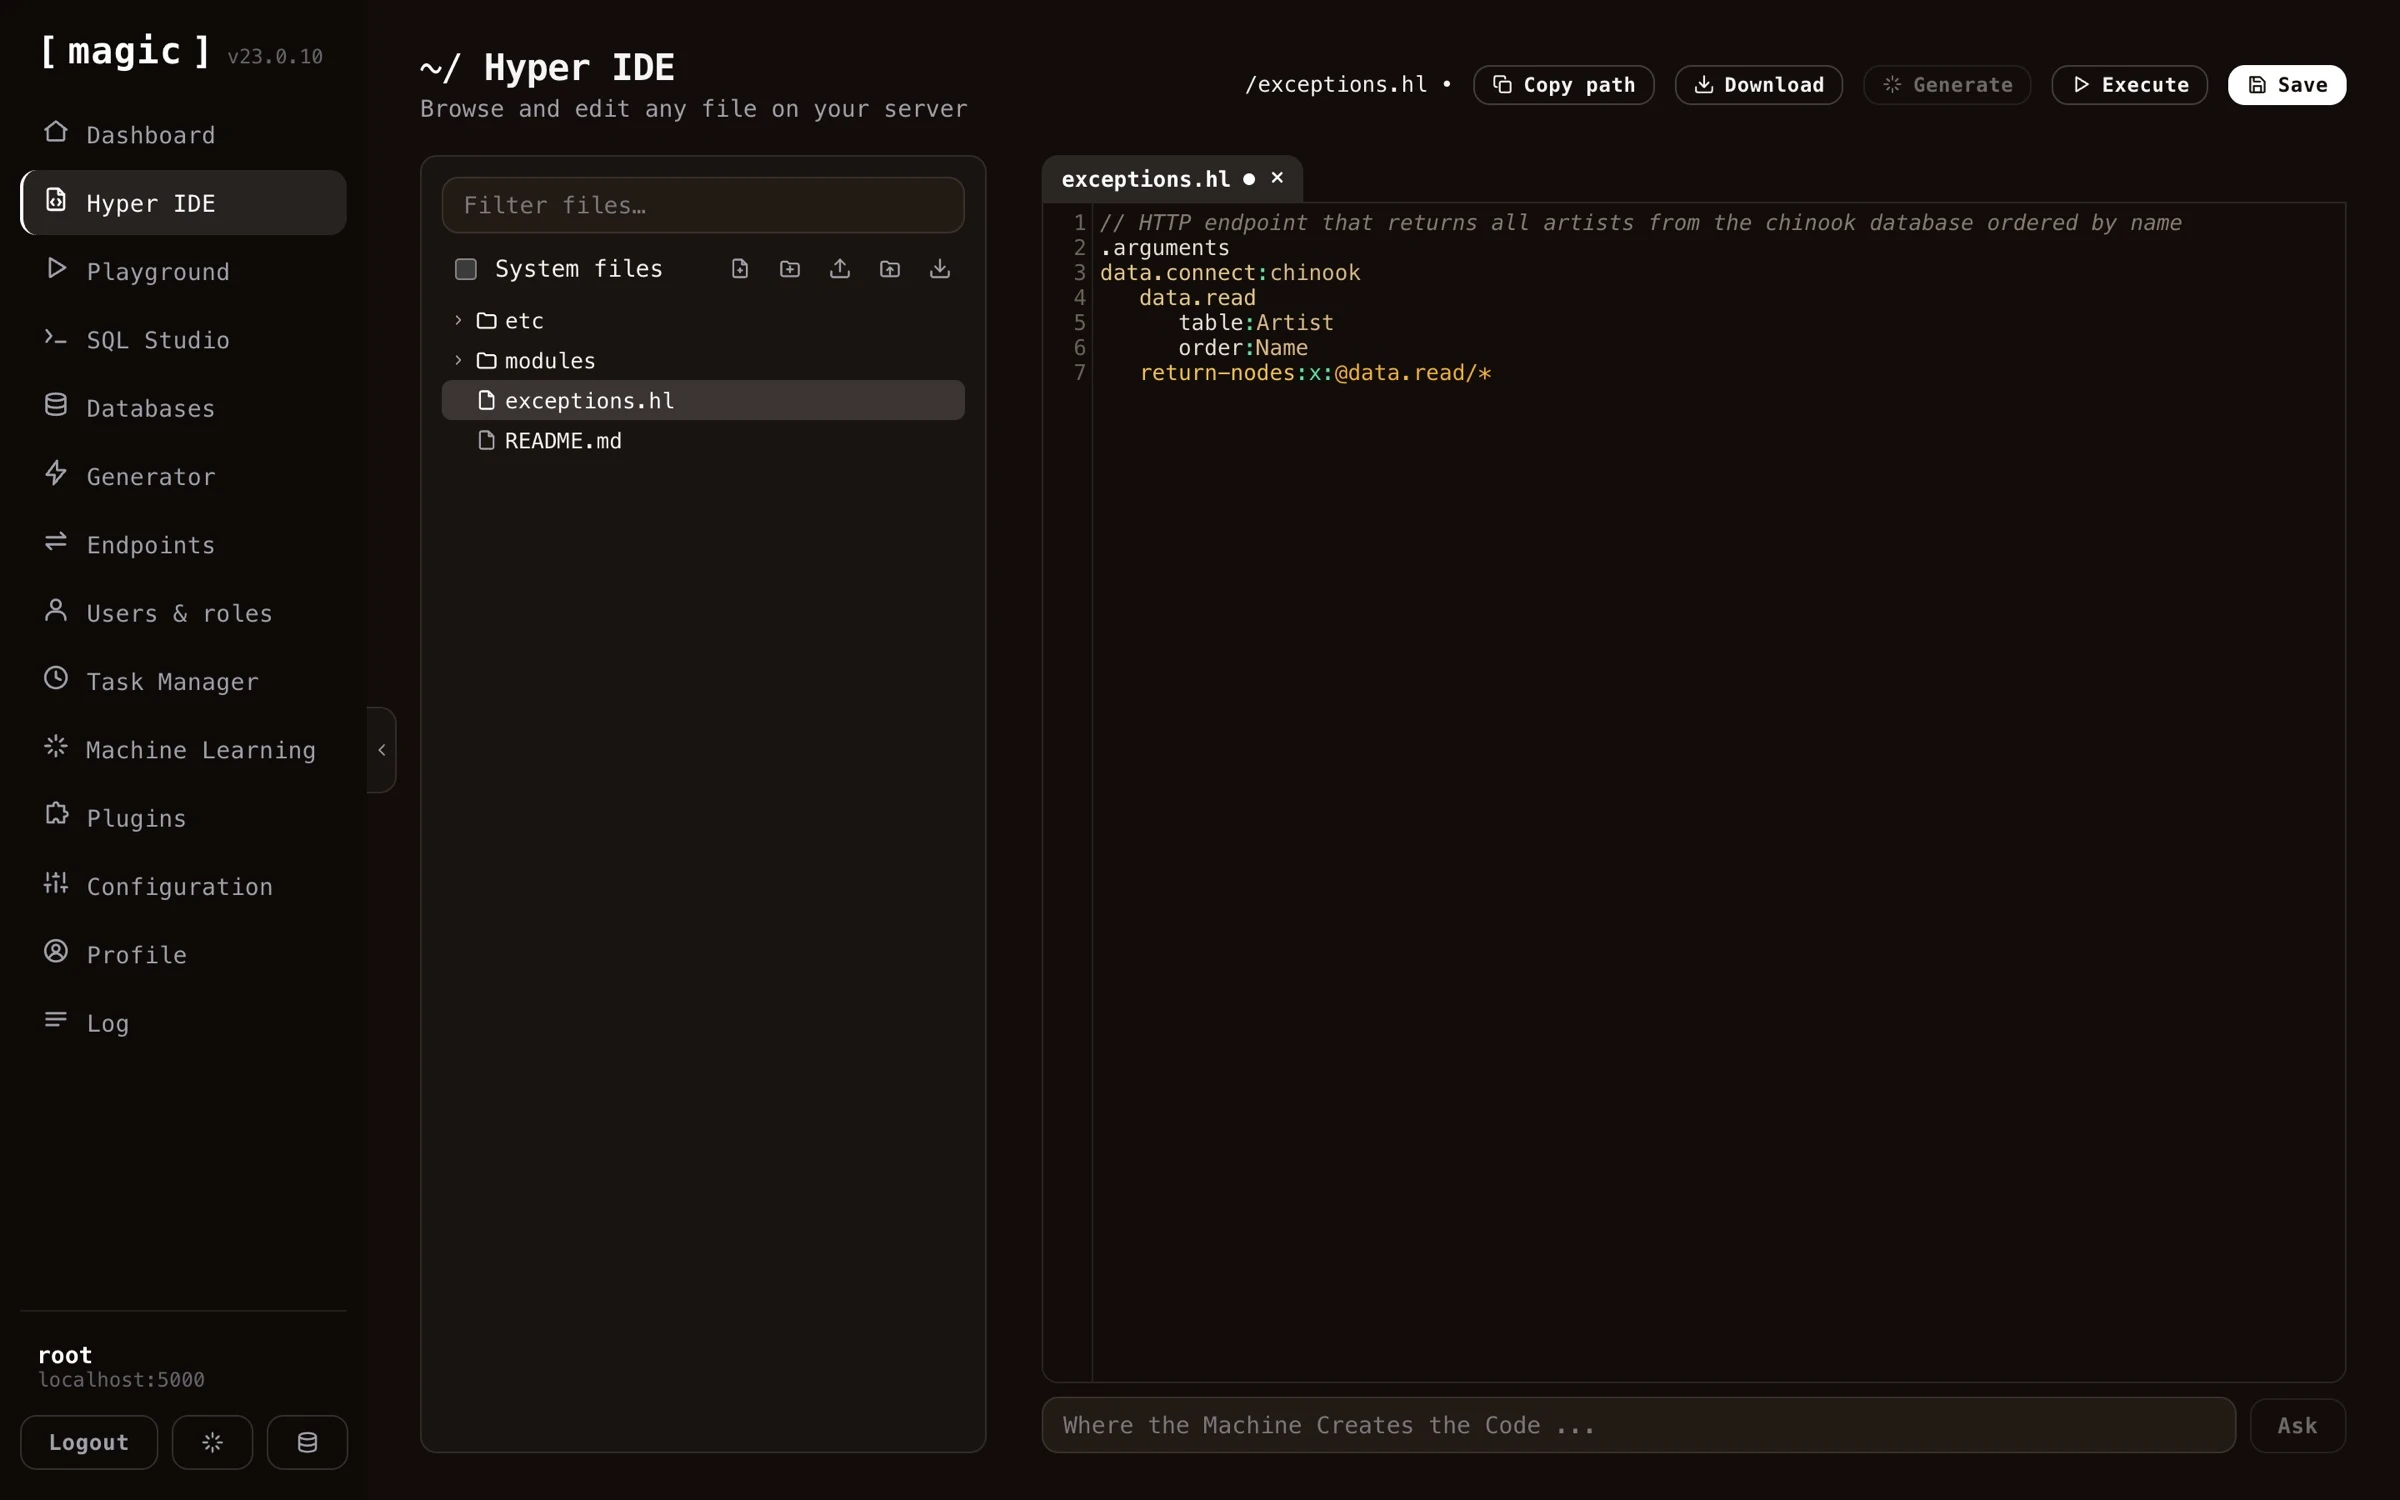
Which engine answers depends on the file you have open.
- Hyperlambda files (
.hl) are generated by Magic’s own Hyperlambda Generator. Currently this requires no OpenAI API key and is free of charge - the generator is our proprietary model, fine-tuned exclusively on Hyperlambda. - Other languages - such as TypeScript, JavaScript, HTML, CSS, and SQL - are generated through OpenAI, and therefore require you to have an OpenAI API key installed in your cloudlet’s configuration.
You can also select some text in the editor and click the “Generate” button to run your selection through the generator, or write a file-level comment describing what you want and generate your code from that.
The bar works like a conversation, so you can keep refining and modifying your code, using it as an “AI-based pair programming buddy”. Requests are paired to a local machine learning model with the same name as your file’s extension - so with an HTML file open the AI searches for a model named “html”, falling back to your “default” model if none exists. This lets you create your own RAG models, matched to your file extensions, to teach the AI about your own code.
Hyper IDE also provides integrated autocomplete if your editor has focus and you click CTRL+SPACE in Windows or FN+CONTROL+SPACE on your Mac. This allows you to very rapidly create Hyperlambda code, while having Hyper IDE ensure your code is using existing slots. Notice, these keyboard shortcuts are only available when your code editor has focus.
In addition to autocomplete, the editor documents your code as you read it - rest your mouse pointer on any slot invocation in a Hyperlambda file, and a tooltip appears explaining what the slot does, using the descriptions your cloudlet’s slots declare about themselves. And CTRL+F on Windows or COMMAND+F on your Mac opens search inside the editor, highlighting every match as you type, with ENTER cycling through them - which matters once your Hyperlambda files grow to hundreds of lines.
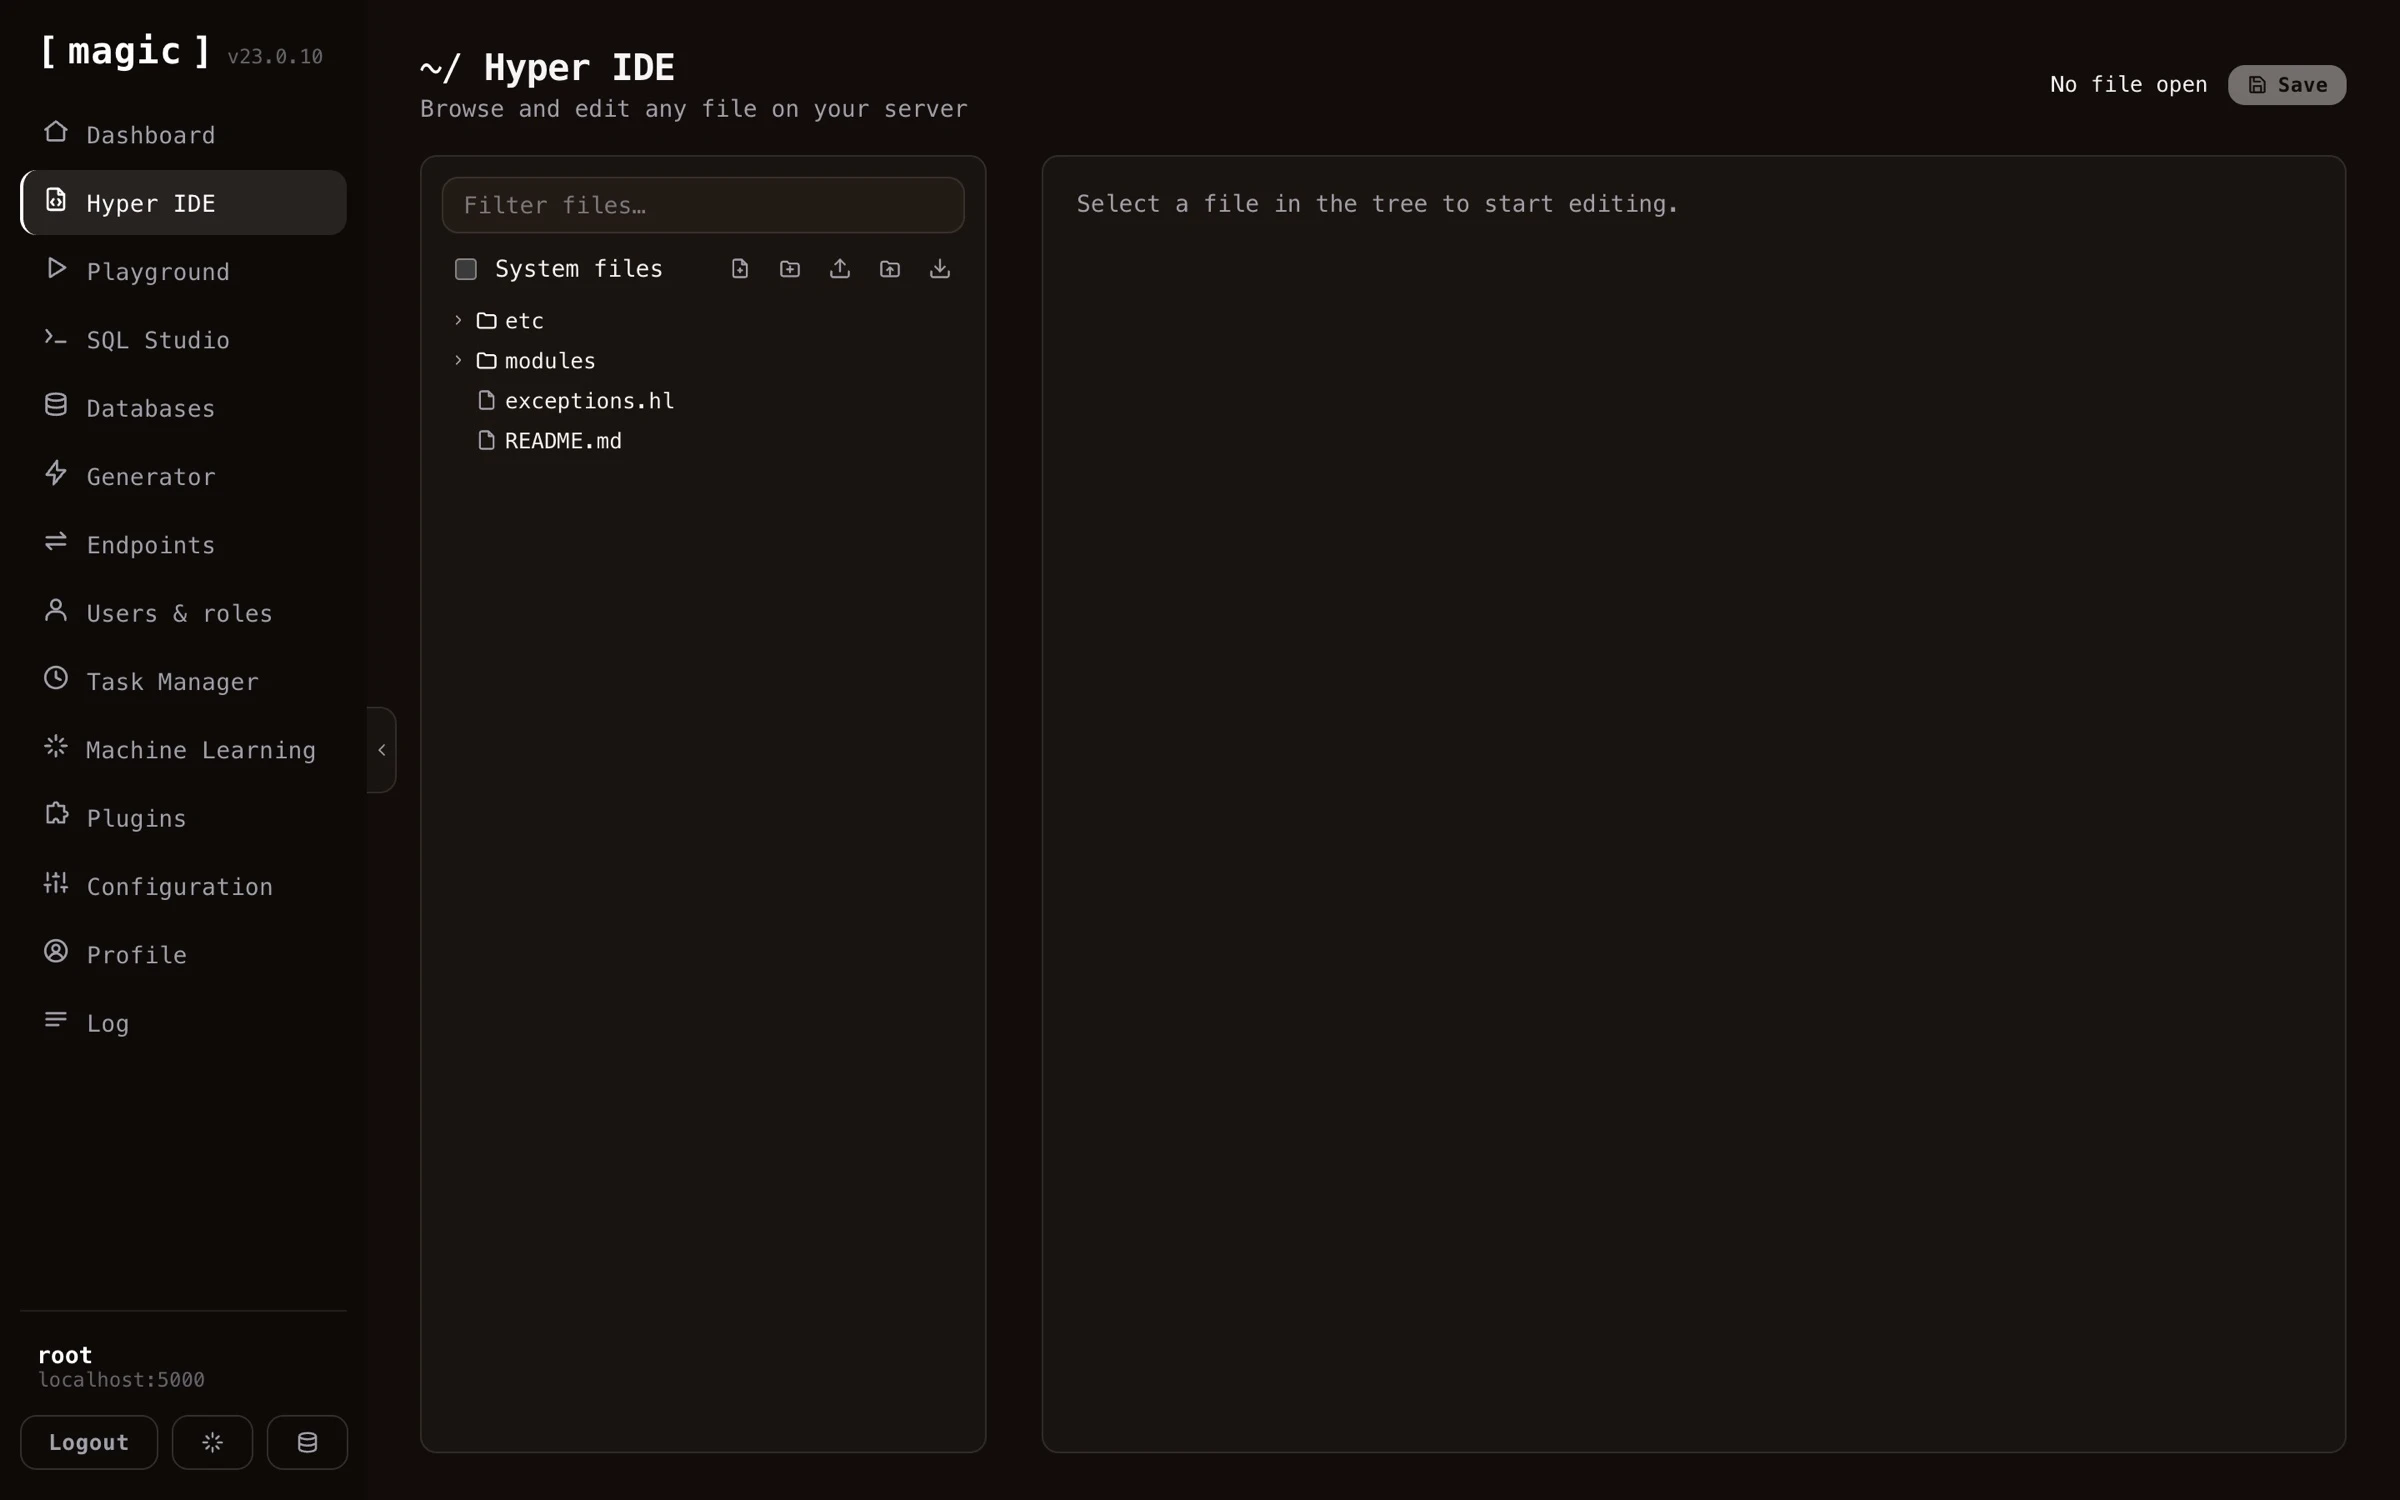
Keyboard shortcuts
The dashboard documents its own shortcuts - click CTRL+/ (COMMAND+/ on a Mac) anywhere, and an overview opens listing every shortcut, or find it by opening the command palette with CTRL+K and typing “keyboard”. The complete list is as follows.
| Shortcut | Where | What it does |
|---|---|---|
| CTRL/CMD + K | Everywhere | Opens the command palette - jump to any page, file, endpoint, task or model |
| CTRL/CMD + / | Everywhere | Shows the keyboard shortcut overview |
| CTRL/CMD + . | Everywhere | Opens Chat Ops - the dashboard’s own AI agent |
| ESC | Everywhere | Closes the open dialog |
| CTRL + SPACE | Code editors | Autocomplete - Hyperlambda slots, SQL tables and columns |
| CTRL/CMD + F | Code editors | Search inside the editor - ENTER cycles matches, ESC closes |
| ALT + M | Code editors | Toggles fullscreen editing - ESC leaves fullscreen |
| TAB / SHIFT + TAB | Code editors | Indents or outdents the selection one level |
| CTRL/CMD + S | Code editors | Saves the open file |
| F5 | Code editors | Executes - runs the open file, snippet or SQL |
| F1 | Code editors | Asks the AI to explain the selected Hyperlambda |
| ALT + A | Hyper IDE | New file |
| ALT + B | Hyper IDE | New folder |
| ALT + R | Hyper IDE | Renames the open file |
| ALT + D | Hyper IDE | Deletes the open file |
| ALT + X | Hyper IDE | Deletes the active folder |
| ALT + C | Hyper IDE | Closes the open file |
| ALT + F | Hyper IDE | Switches to the next open file |
| ALT + P | Hyper IDE | Switches to the previous open file |
Editor shortcuts require the code editor to have focus, and apply in every editor throughout the dashboard - Hyper IDE, the Hyperlambda Playground, and SQL Studio alike.
On macOS the combos follow the platform’s conventions, and the in-dashboard overview shows the macOS variants automatically: COMMAND substitutes for CTRL, OPTION for ALT, autocomplete is FN+CONTROL+SPACE, and the function keys need FN unless you have configured them as standard function keys.
Hyper IDE features
Hyper IDE is not a fully fledged IDE, and cannot compare to something like VS Code or Visual Studio. However, its purpose is to function as an extension on top of the endpoint generator, giving you code editing capabilities of your generated Hyperlambda files - In addition to rapidly allowing you to edit Hyperlambda files and use AI to generate or modify existing code.
You can use Hyper IDE to edit TypeScript, Ruby, HTML, and C# code, but we don’t recommend replacing it with your existing code editor, since other IDEs have much more features here than Hyper IDE. However, the opposite is also true, implying Hyper IDE has features your existing IDE does not have - Especially in regards to Hyperlambda.
Another benefit is that Hyperlambda is a dynamic programming language, implying once you’ve saved your Hyperlambda files, you can immediately test your code by executing it from within Hyper IDE by clicking F5. This results in a much tighter development model than a traditional compiled programming language gives you, making it much faster to find bugs and create working code.
If you execute code in immediate mode using F5, and your code requires arguments, Hyper IDE will ask you for what to pass in as arguments. This isn’t perfect, and only works for first level arguments - But if you need more complexity, you can always use the Hyperlambda Playground, and/or the Endpoints Component.
Magic does not separate between code creation and your code’s production environment, providing you with instant feedback as you create your code.
Hyper IDE also remembers which files you had open, per cloudlet - sign out, come back tomorrow, and your workspace opens the way you left it, with the same files in the same tabs.
Executing Hyperlambda from Hyper IDE
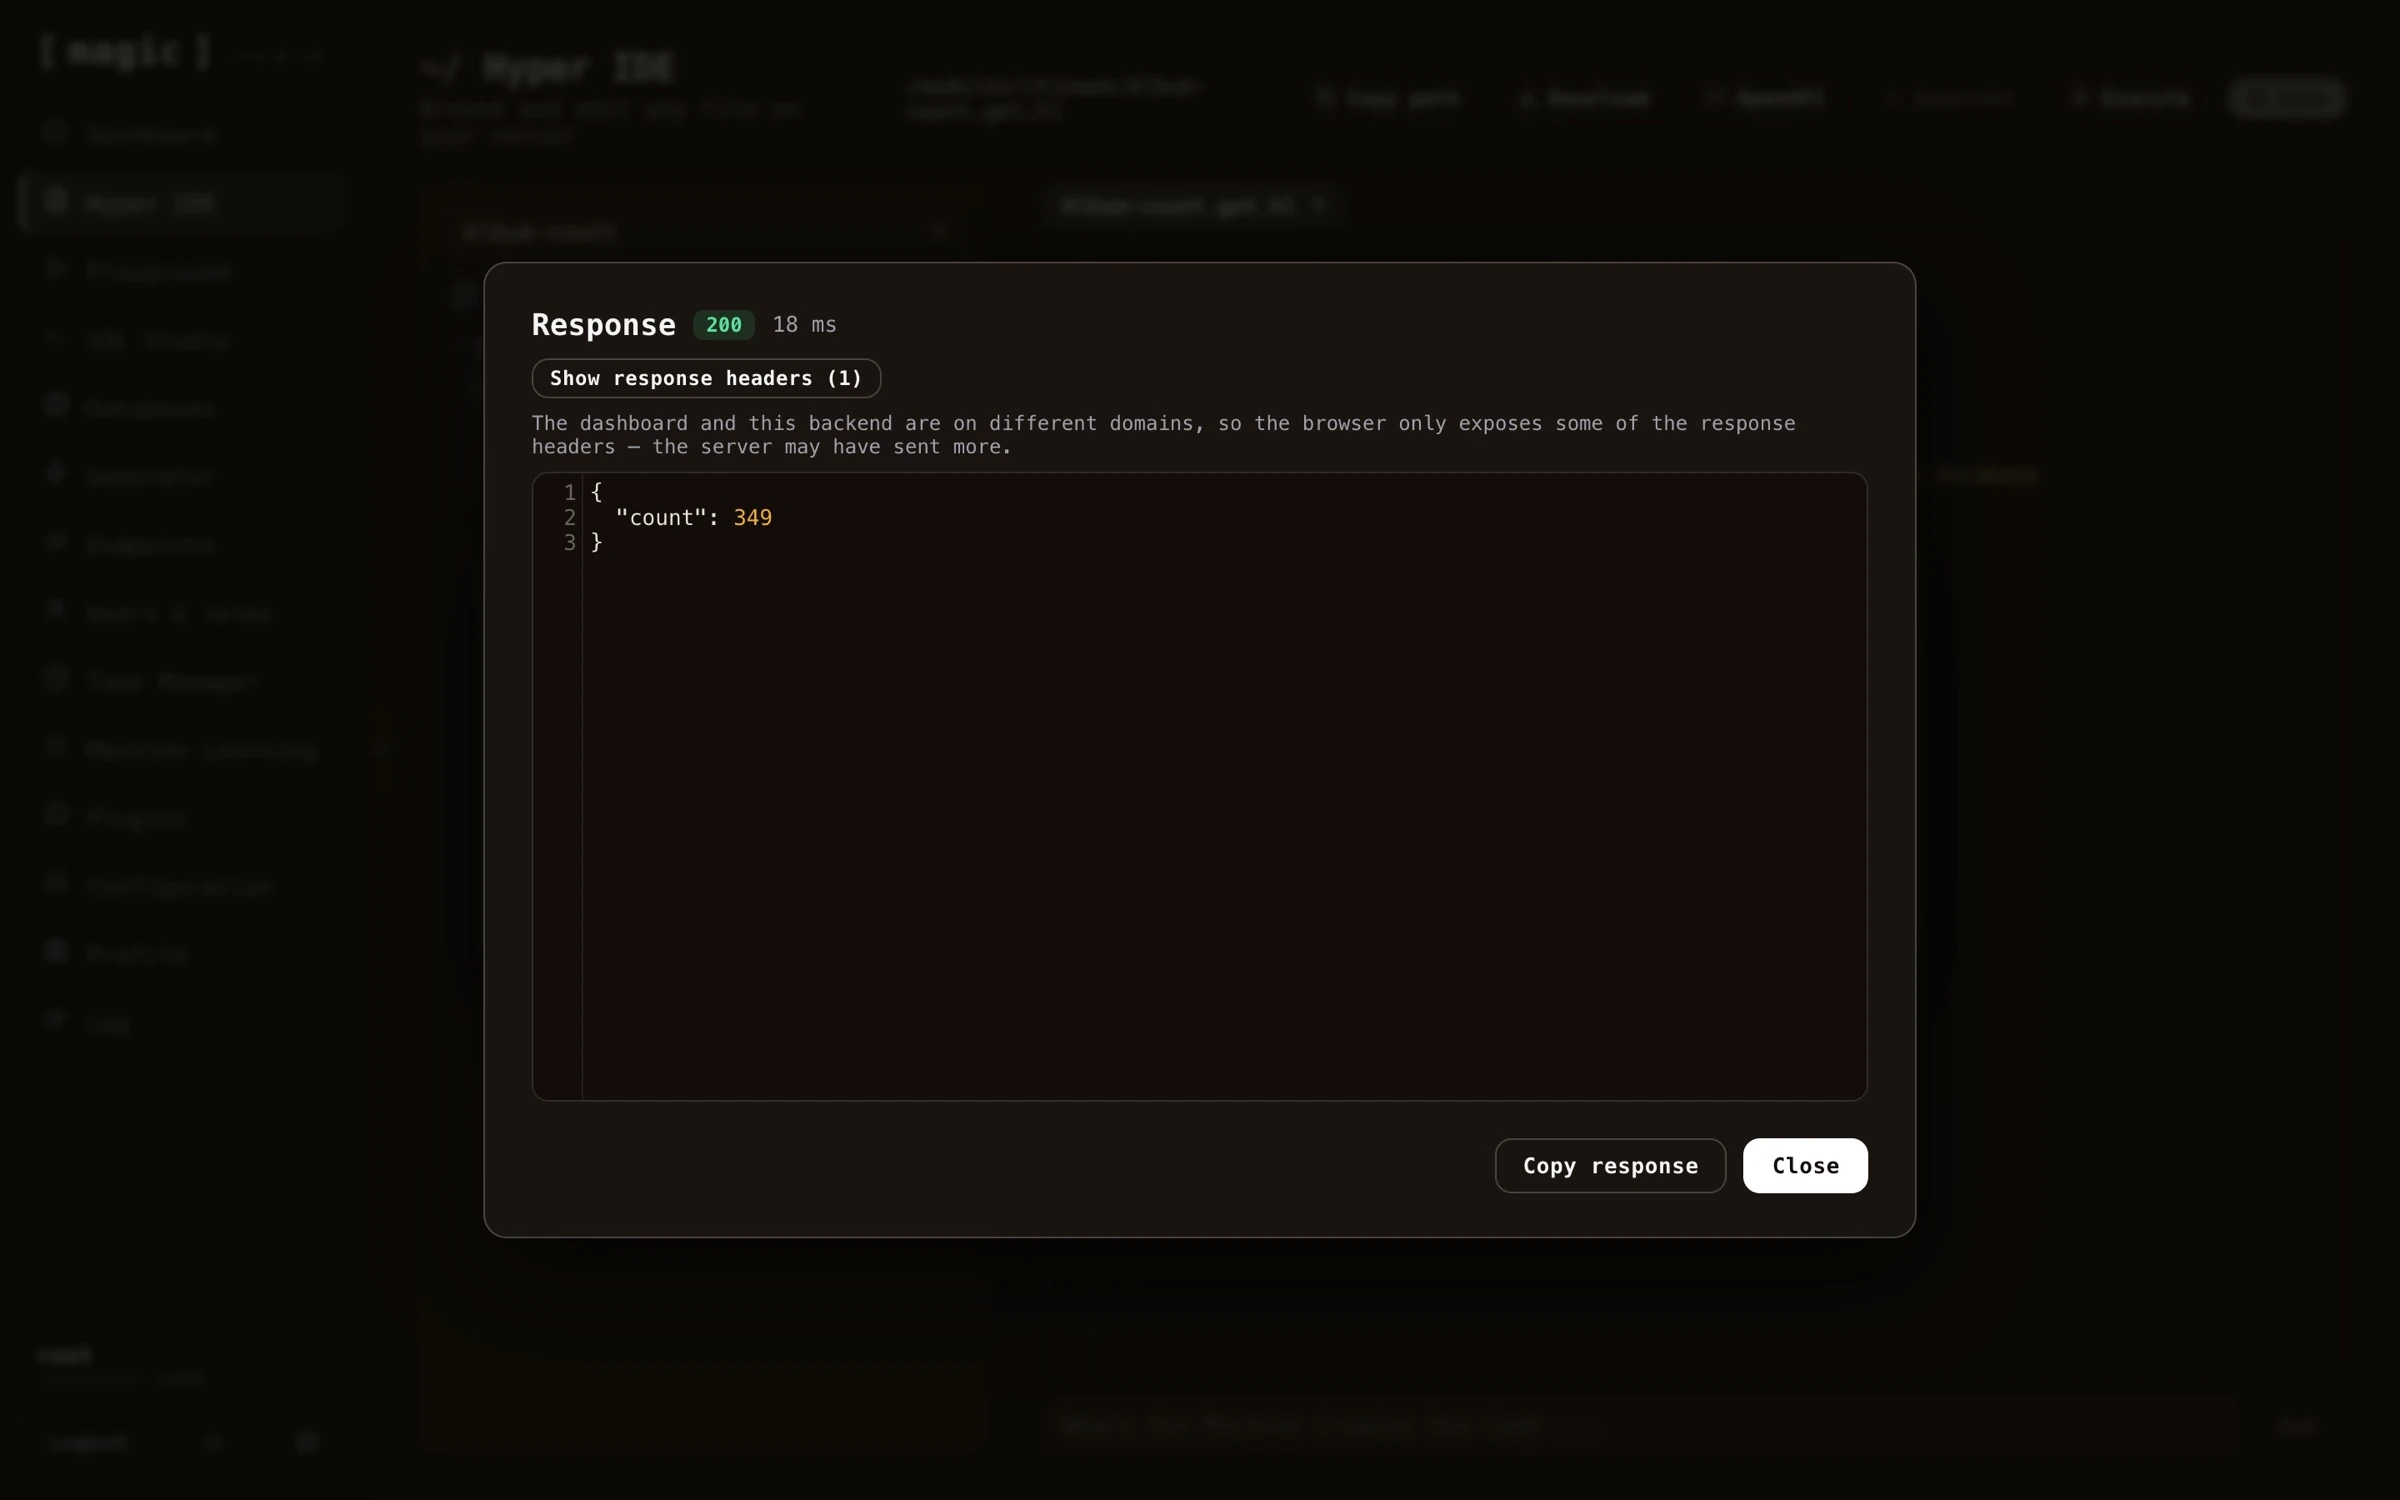
Hyper IDE allows you to execute Hyperlambda without ever leaving your IDE by clicking the “Execute” button. This makes it easy for you to test your code as you are creating it. When executing an API endpoint file, you can parametrise the invocation, and the result is shown with its HTTP status code, execution time, and response body. The same dialog also lets you debug the file instead of simply invoking it, which is described below.
Rewind - stepping through an execution
Executing a file tells you what it returned. Rewind tells you how it got there.
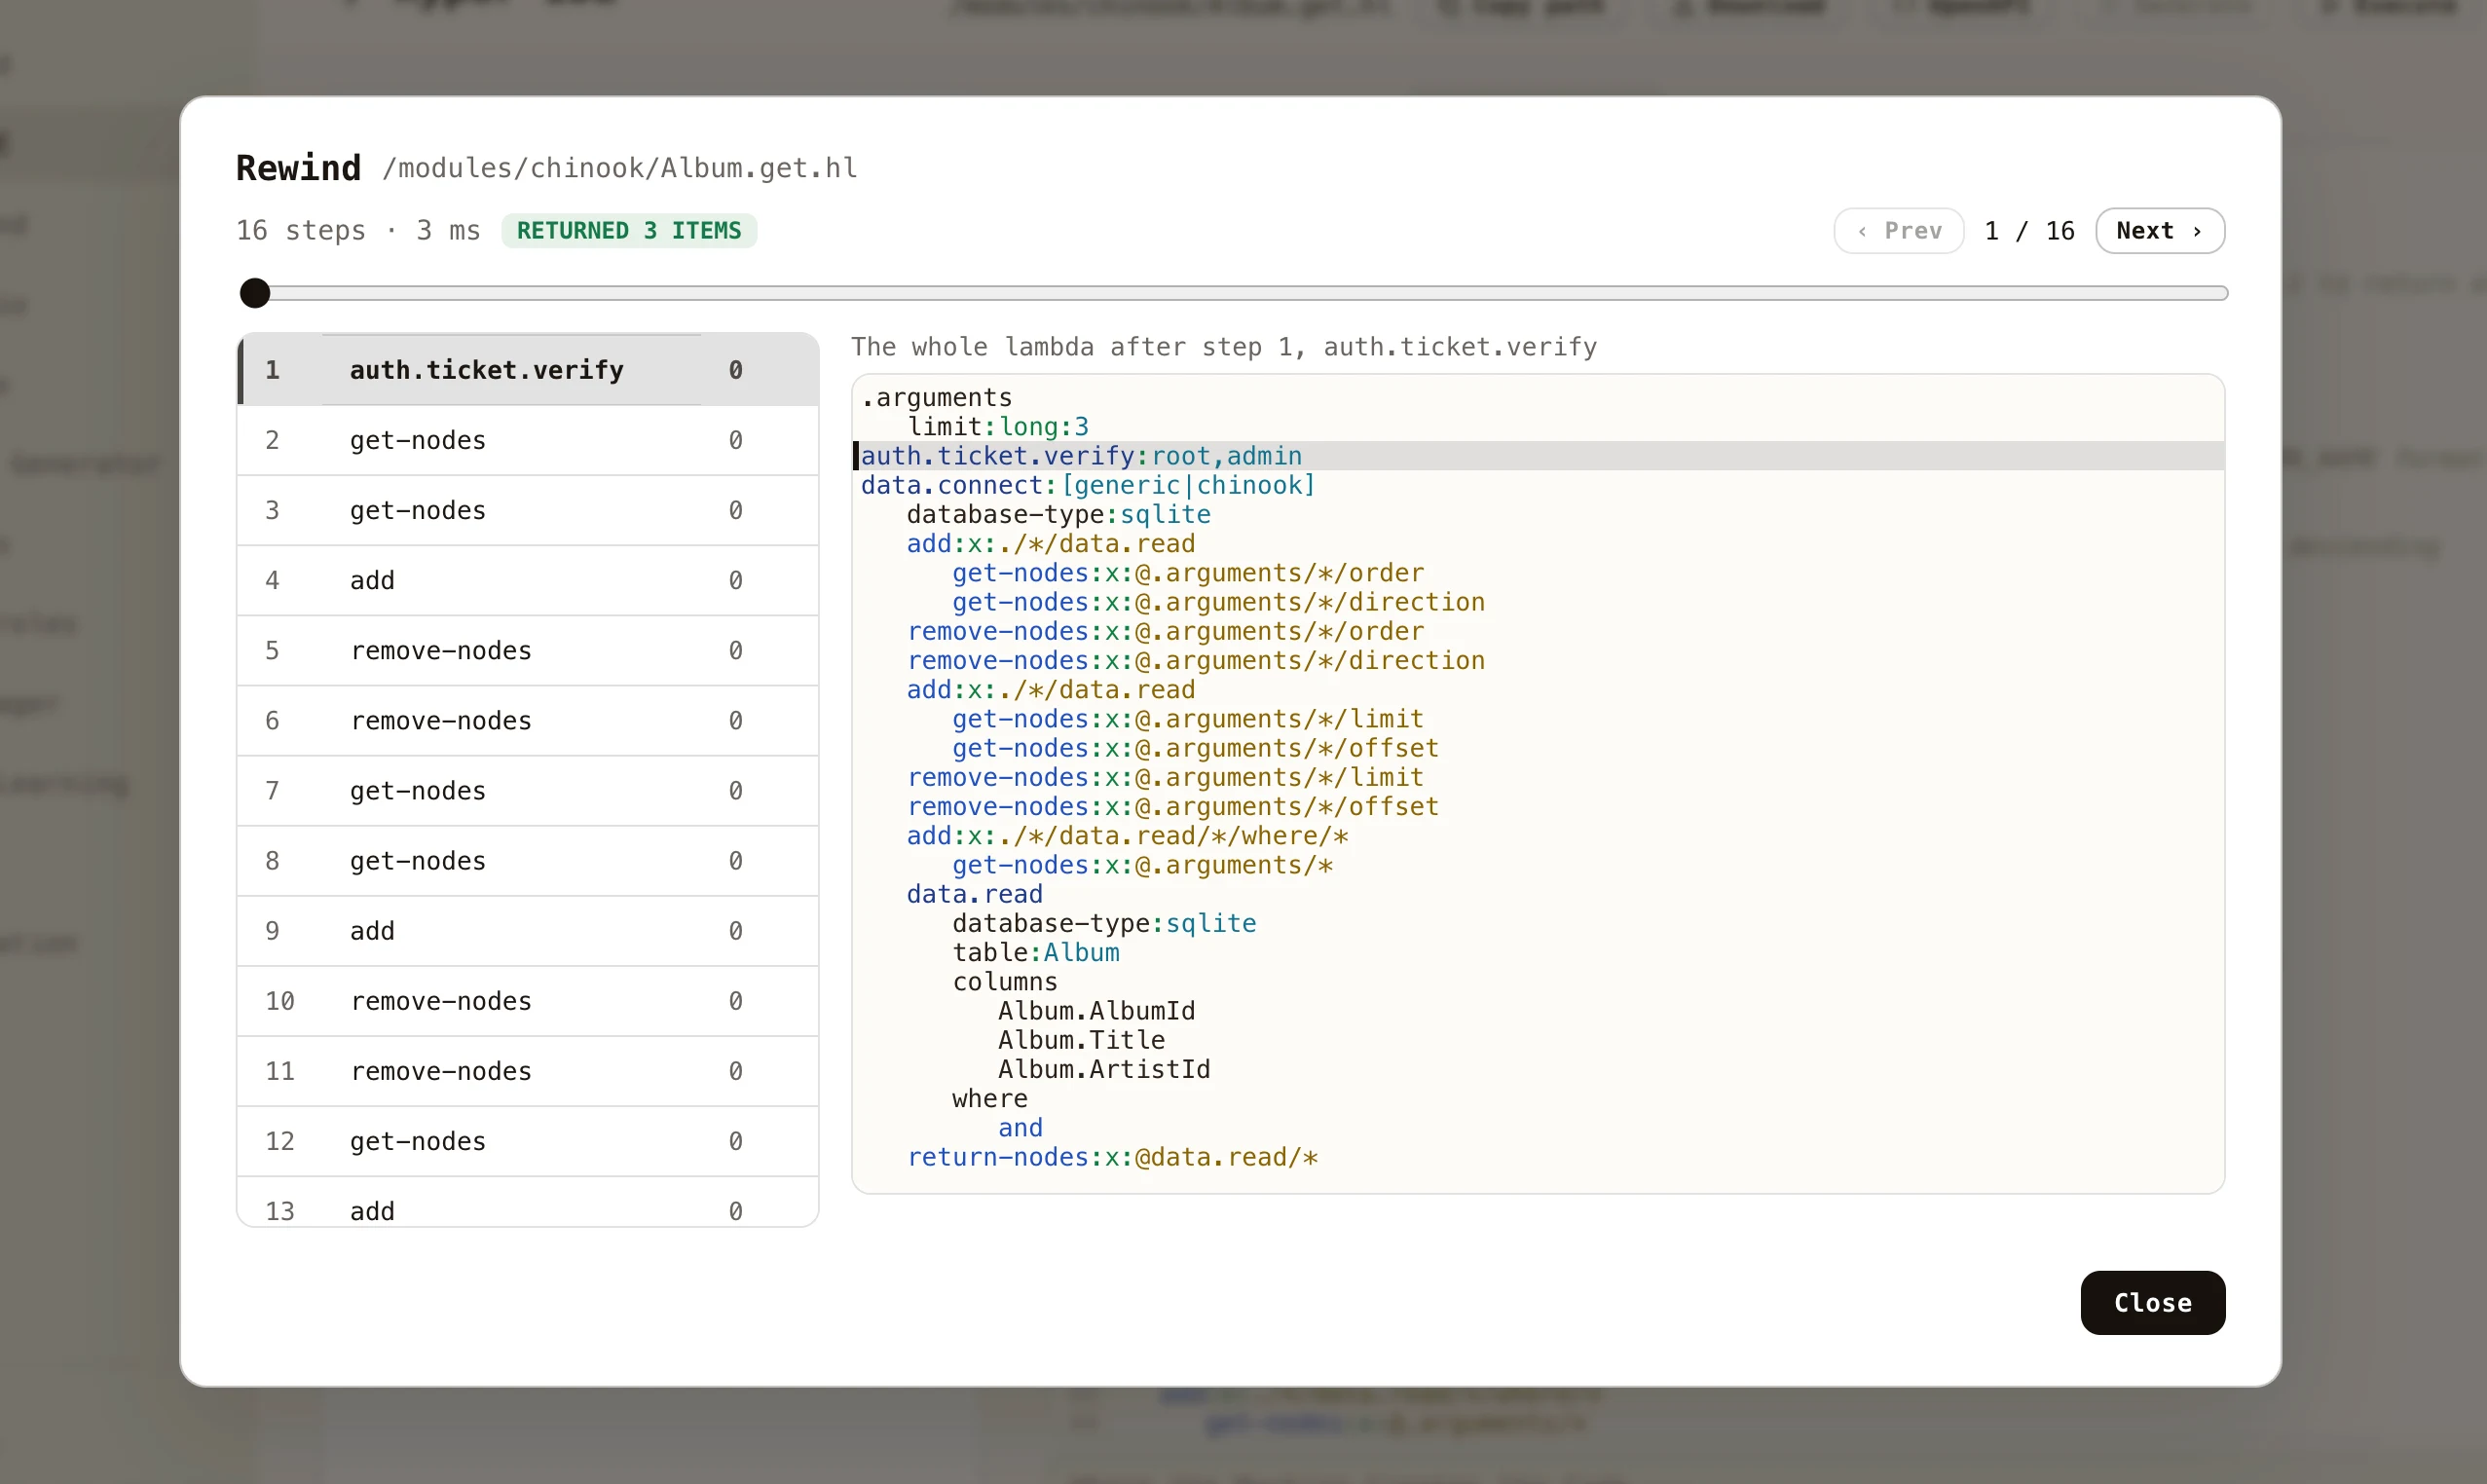
Fill in your arguments as you normally would, then click “Debug” instead of “Invoke”. Magic runs the file while recording every single slot it invokes, and hands you the recording. Each entry carries the whole lambda object as it looked immediately after that slot ran - so moving through the list is watching your program’s own state evolve, rather than reading a stack trace and guessing what the values were.
The screenshot above is a generated CRUD endpoint at its first step. On the left is every slot that executed, in order, with how many milliseconds each took. On the right is the entire lambda at that moment, with the statement that just ran highlighted - and limit:long:3, the argument that was supplied, sitting in [.arguments] where the code will read it.
Moving around
- Click any step in the list to jump to it, and the code highlights the statement it was executing.
- Arrow keys step back and forward - left and up go back, right and down go forward.
- Drag the scrubber to move through a long recording quickly.
- The header shows how many steps were recorded, how long the whole execution took, and what the code returned.
When something throws
An execution that fails is the one most worth recording, so the failure is captured rather than discarded. The statement that threw is marked in red in both the step list and the code, and the exception message appears in the header - click it to jump straight to the statement that caused it.
Crucially, you keep everything that happened before the failure. If a loop ran correctly forty times and the forty-first statement threw, you can see the state the loop had built up at the moment it broke, which is precisely what a stack trace never tells you.
Notes
Recording is opt-in, per execution, and lives only in memory - nothing is written anywhere, and there is no cost at all to the code you run normally. Lambdas evaluated on background threads through [fork] are not recorded, since they are not part of the execution you asked about. Very long recordings are capped, and say so when they have been truncated.
Integrated Hyperlambda AI help
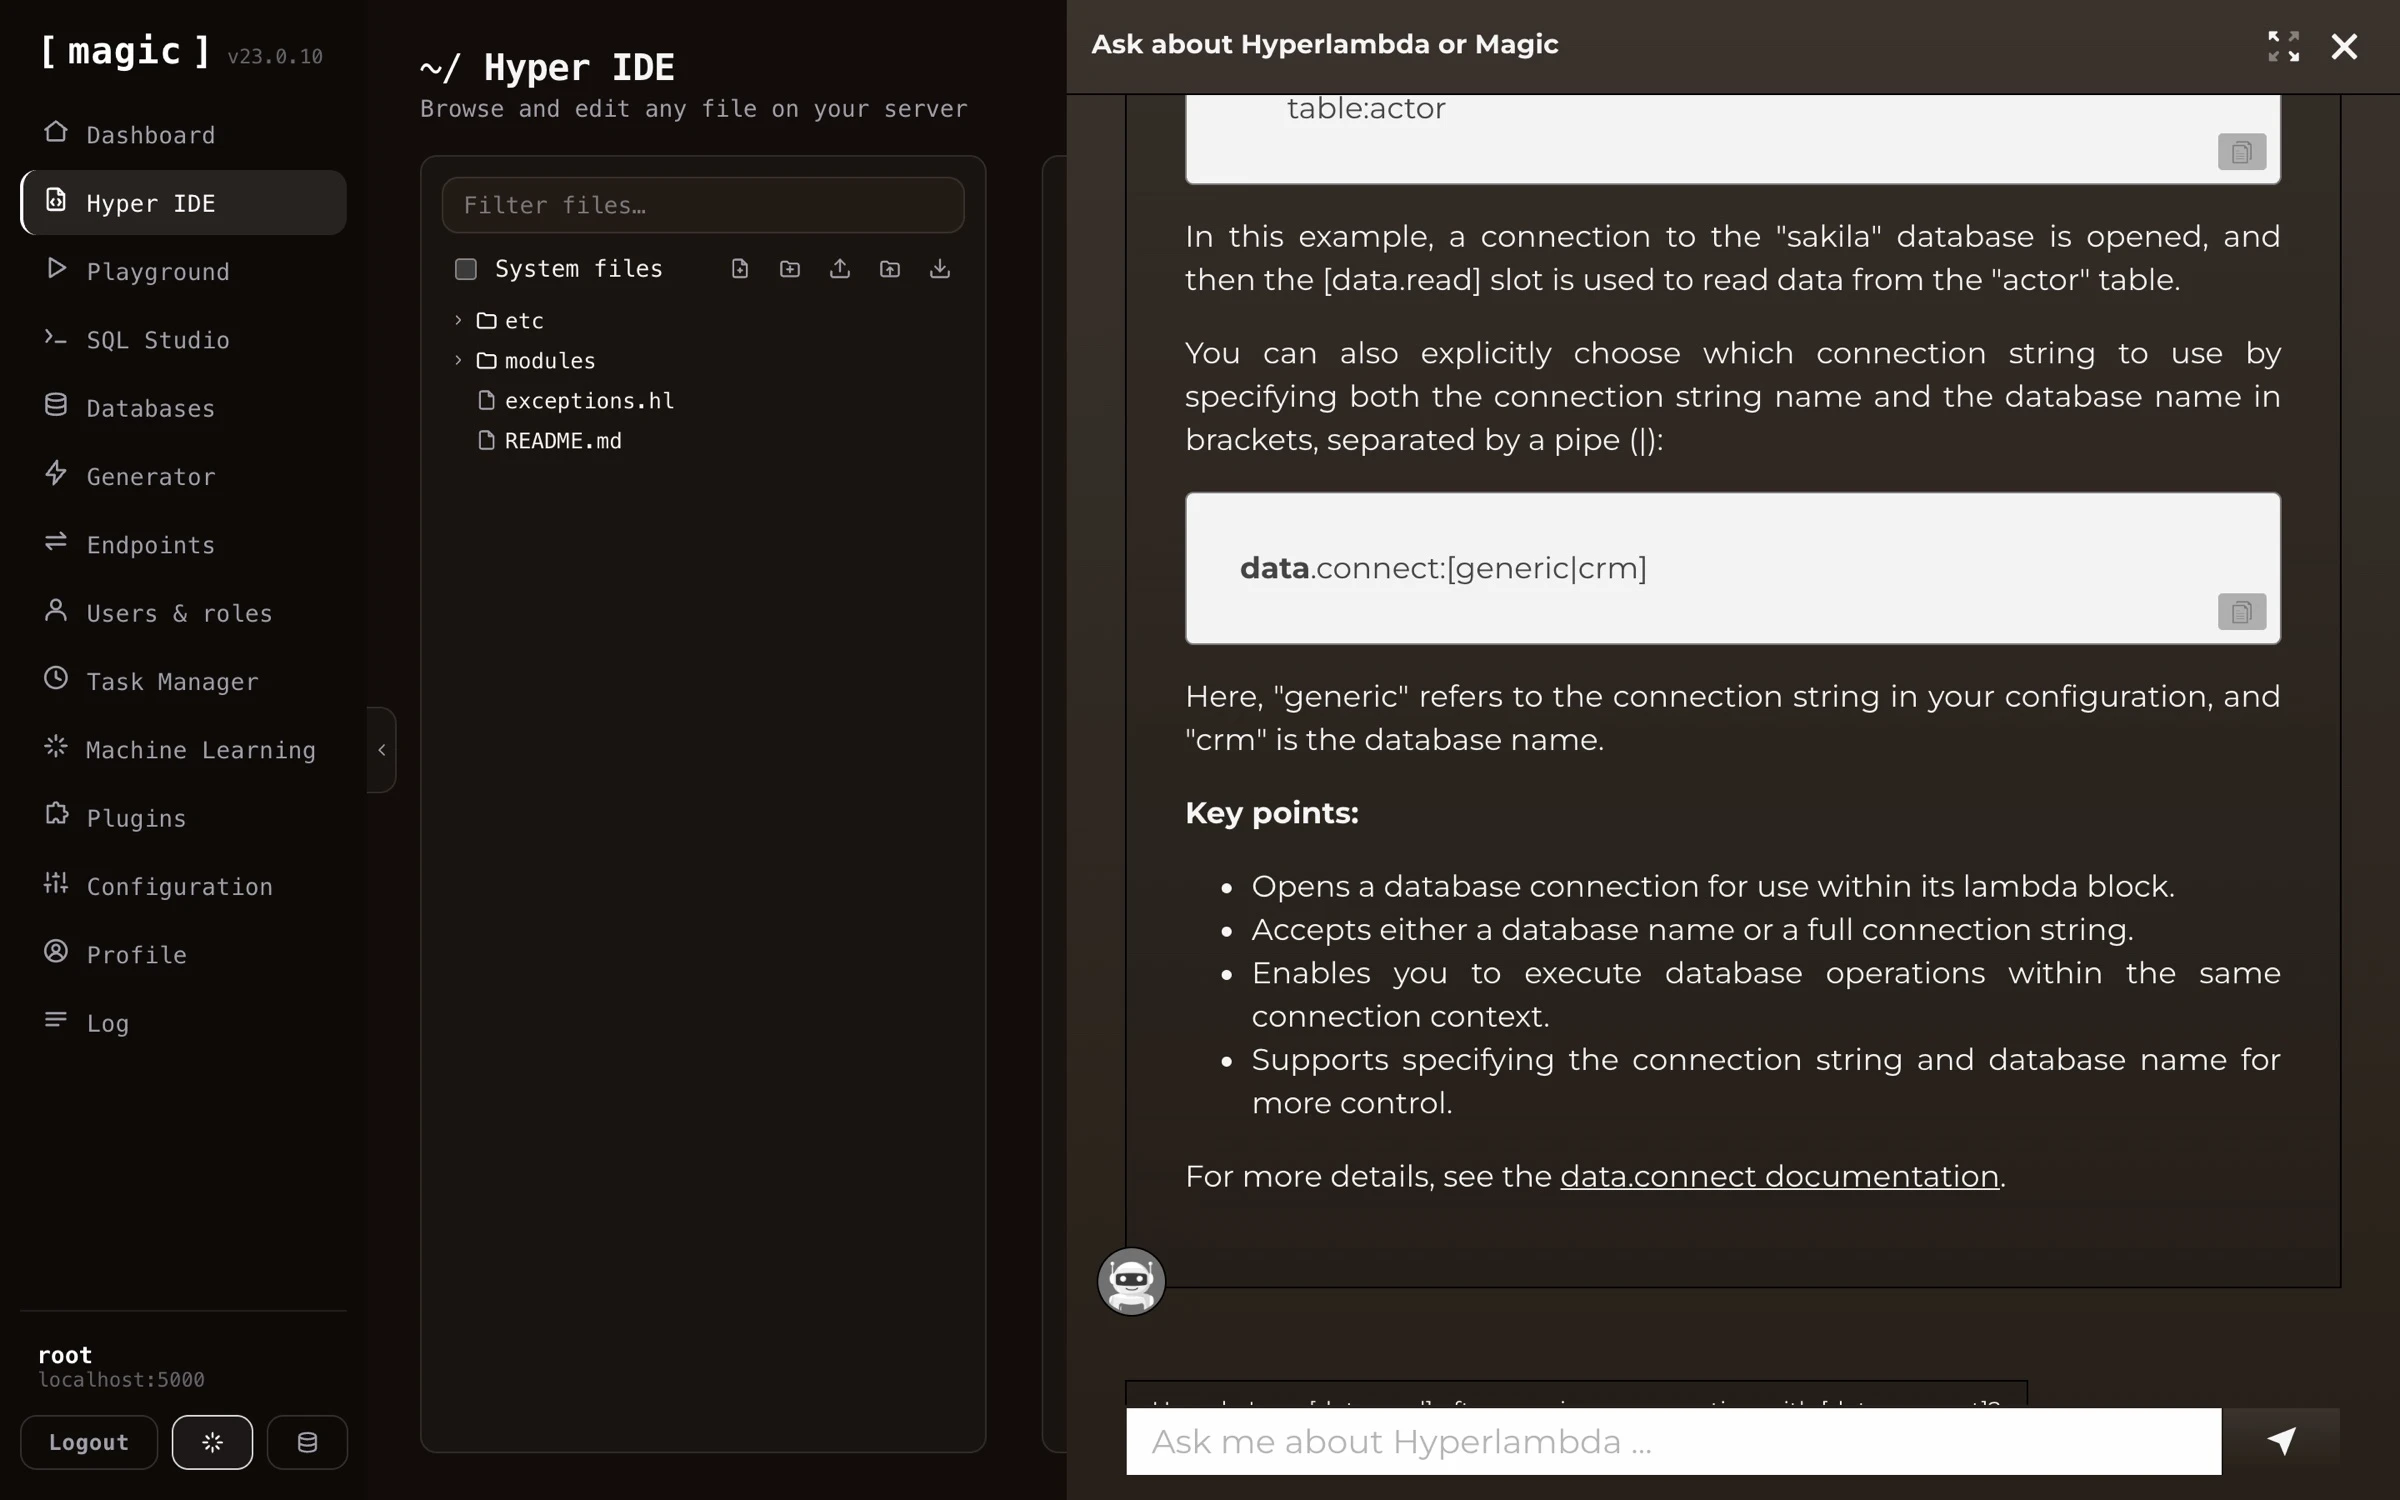
If you mark some Hyperlambda code in Hyper IDE and click F1, it will invoke AINIRO’s machine learning model for Hyperlambda, and actually explain your code using natural language.
Creating full stack apps
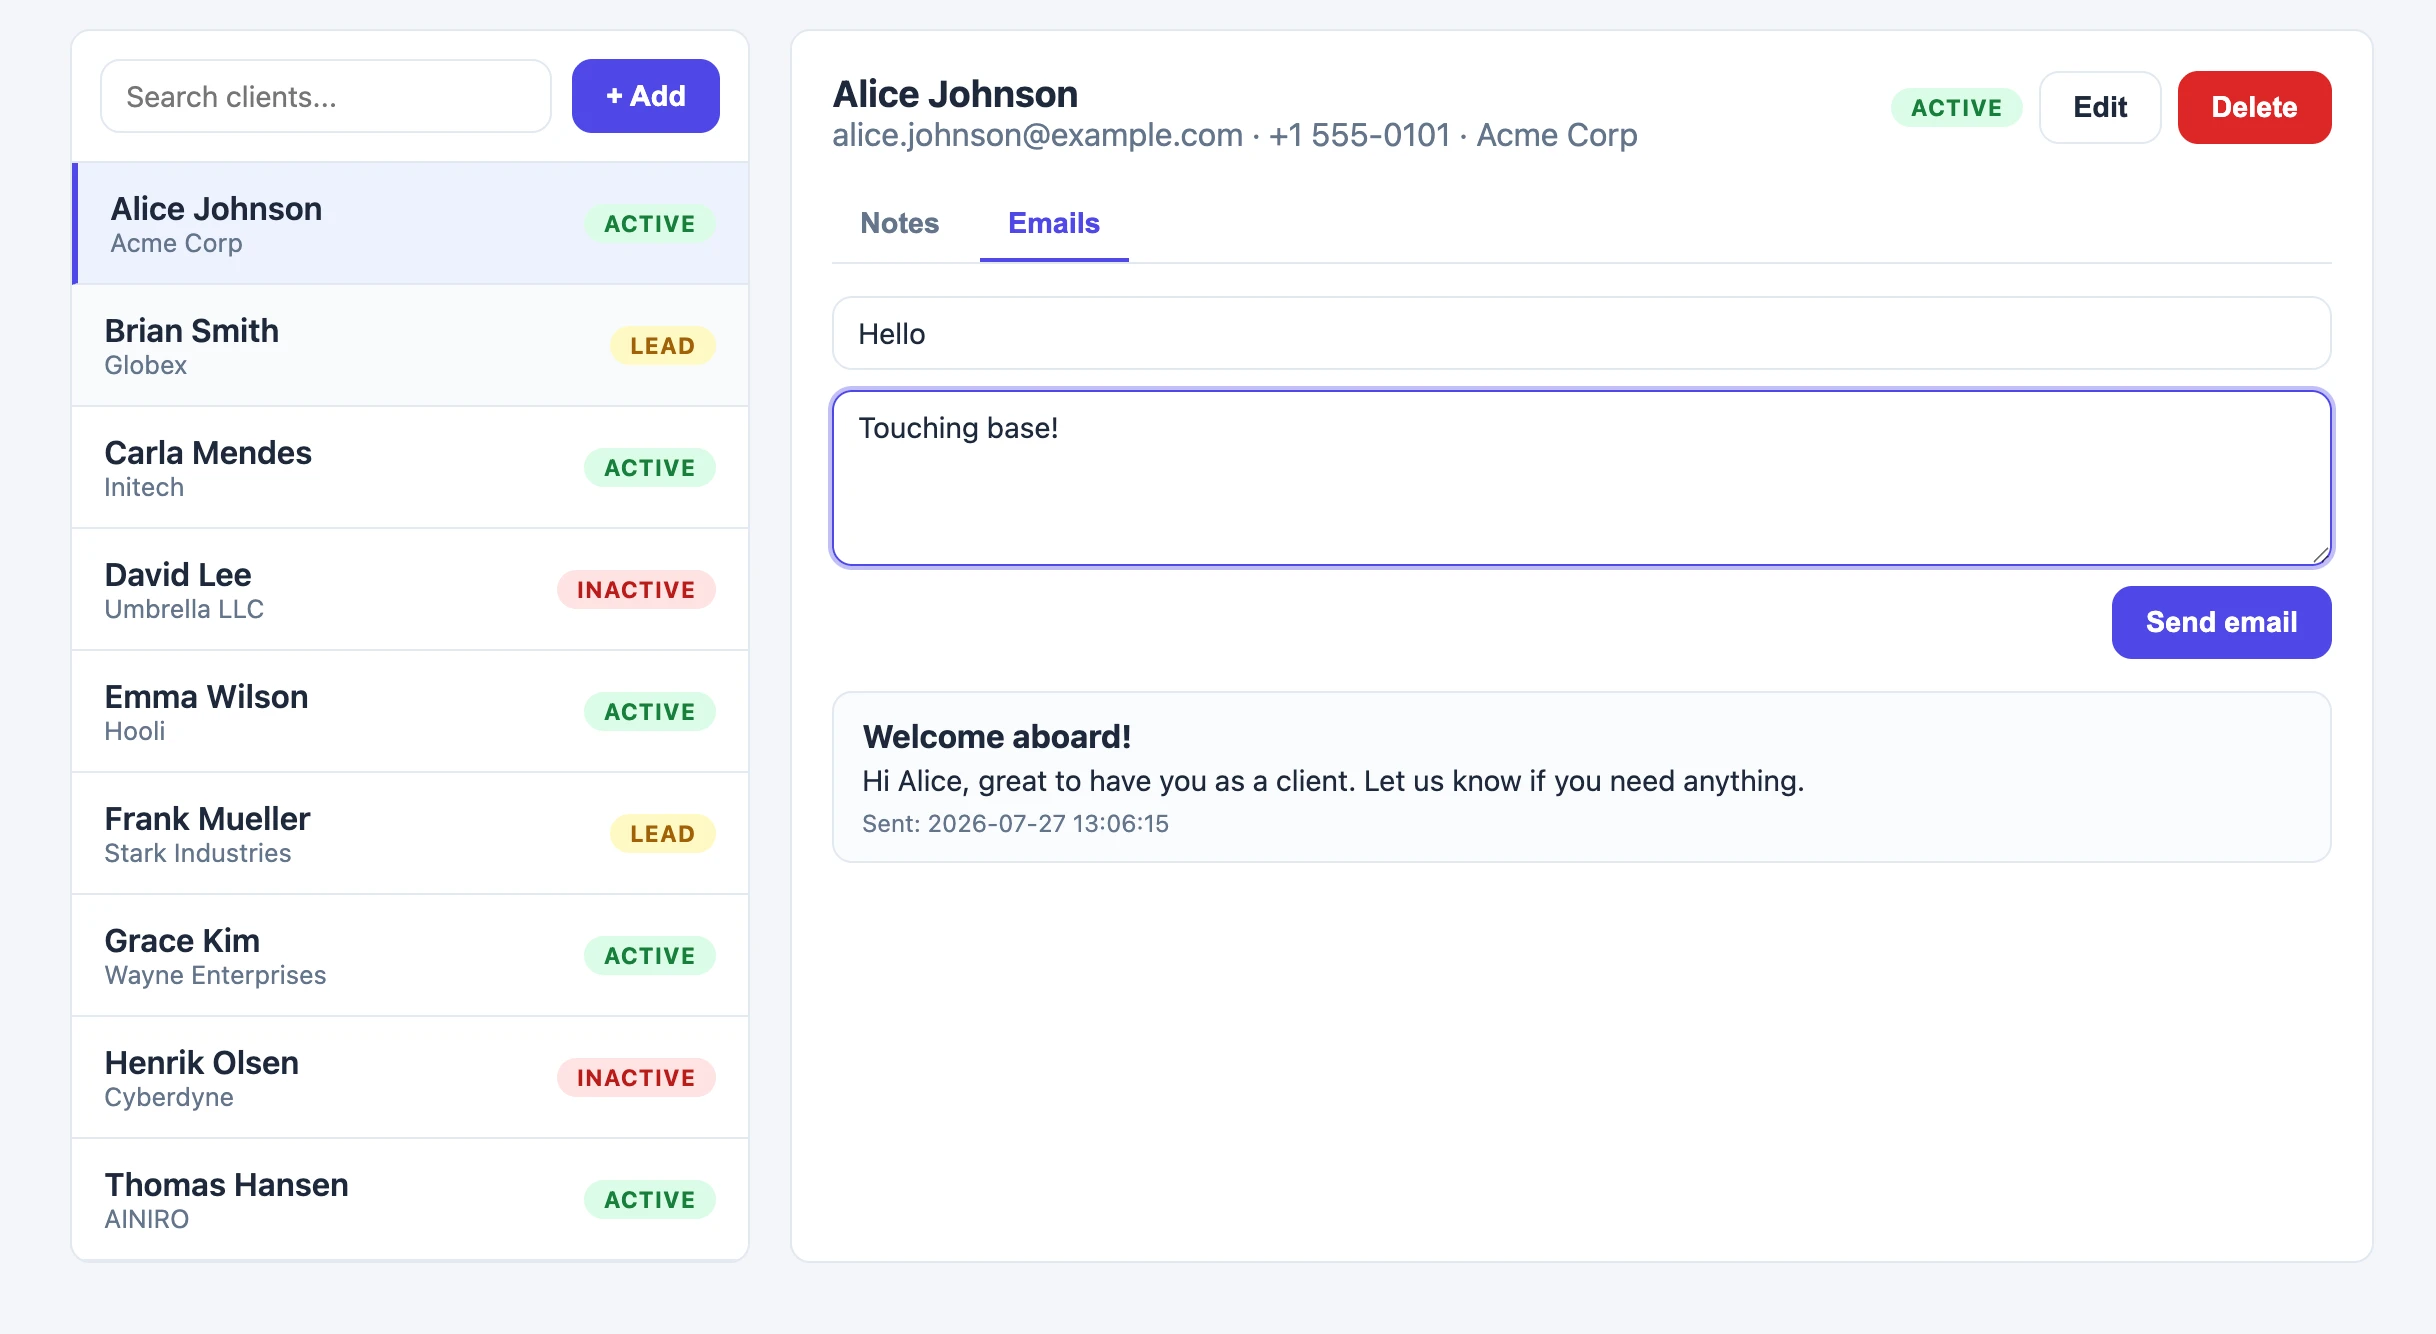
Hyper IDE isn’t limited to backend code - you can create complete full stack applications from it. Since your cloudlet serves static files from /etc/www/, and the “Where the Machine Creates the Code” bar generates HTML, CSS and JavaScript too, you can describe the frontend you want in plain English and have the AI build it - wired straight to the CRUD API the Endpoint Generator created for your database. The CRM app below was built exactly this way; a SQLite database with 3 tables, a secure API wrapping it, and a working frontend - all generated from natural language.
Turning your endpoints into AI functions
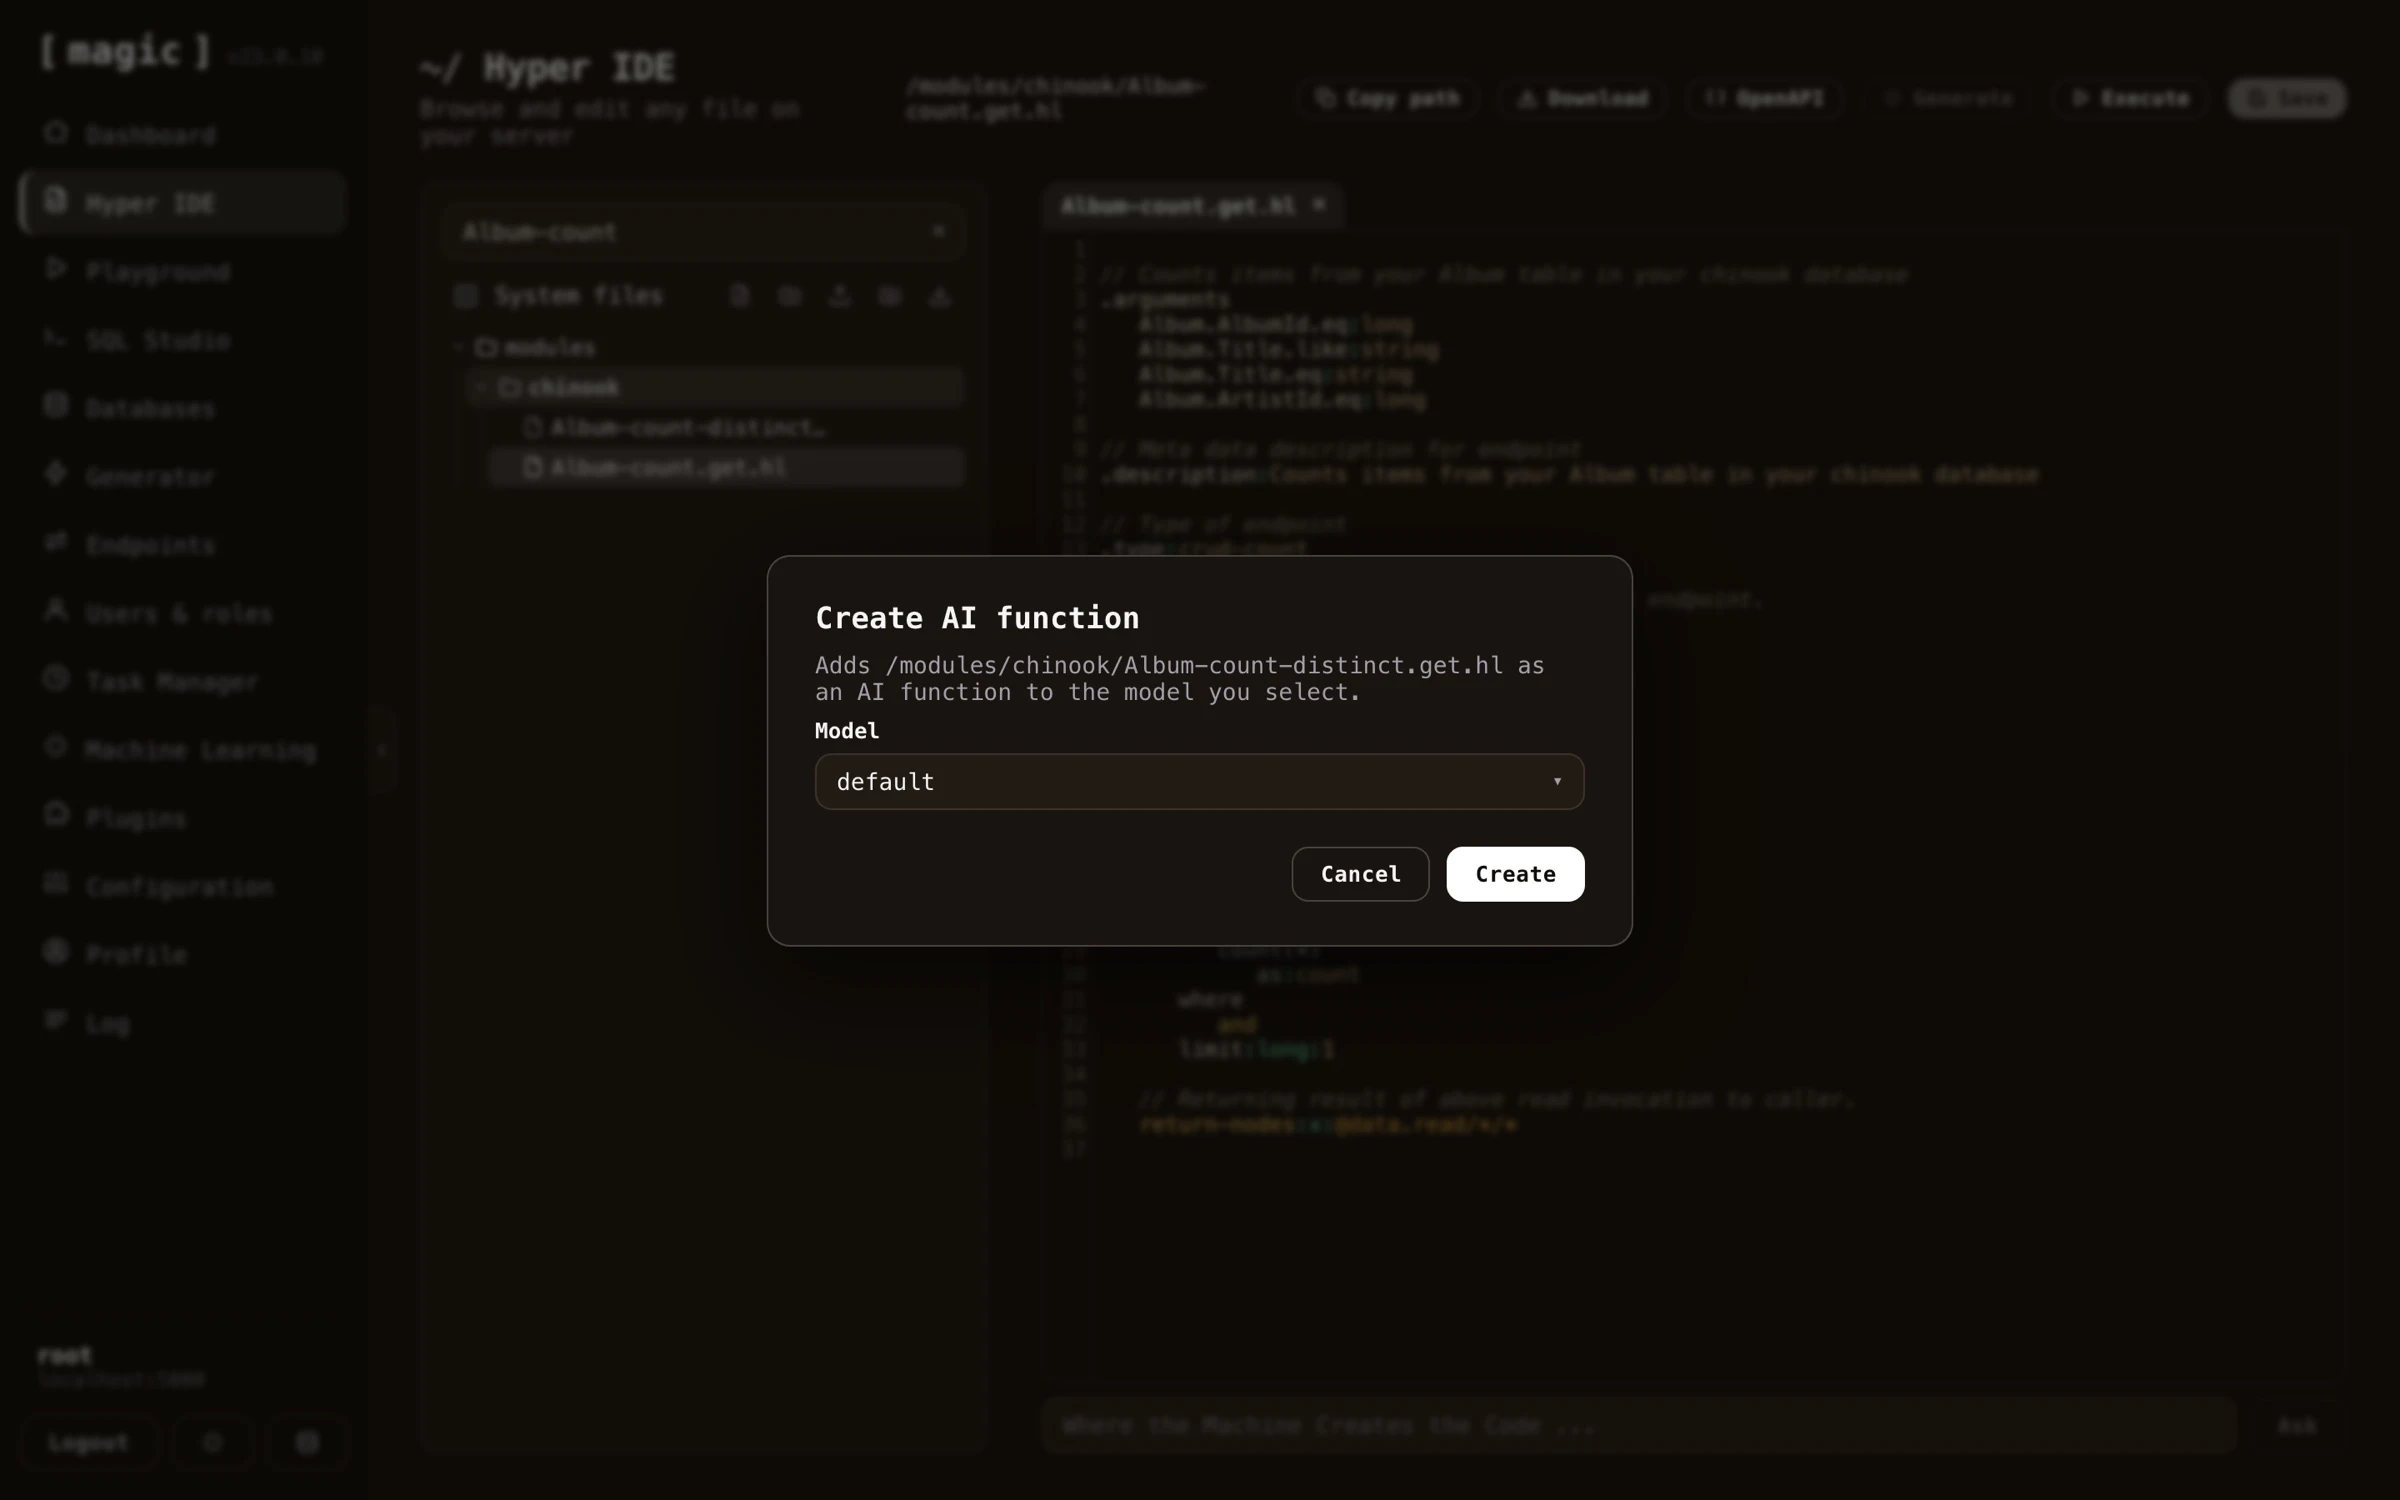
Hyper IDE also bridges your code and your Machine Learning models. Every Hyperlambda endpoint file has a “Create AI function” action, adding that endpoint as an AI function to a model you select - allowing your chatbot or AI agent to invoke it. Folders have the same action, converting all Hyperlambda endpoint files inside the folder into AI functions in one go. Endpoint files also have an “OpenAPI” action, showing you the endpoint’s OpenAPI specification.
Editing web pages and static files
Hyper IDE isn’t only for Hyperlambda. Anything you place under the /etc/www/ folder is served directly from the root of your cloudlet’s domain by the backend, which turns Magic into a web server too. A file saved as /etc/www/index.html is served from your site’s root, /etc/www/css/main.css from /css/main.css, and so on. This means you can host a landing page, a complete static website, or the HTML, CSS and JavaScript assets for a single-page application straight from your cloudlet, right next to the APIs that power it. Notice, hidden files and folders - those starting with a dot - are not served, with the exception of .well-known, which the backend deliberately exposes so discovery documents remain publicly reachable.
You edit these files the same way you edit any other file in Hyper IDE. Create or open an HTML, CSS, JavaScript, Markdown, or image file underneath /etc/www/, and edit it either the good old fashioned way by typing, or with the AI constructs described above - the “Where the Machine Creates the Code” bar and the “Generate” button work for HTML, CSS and JavaScript too. Since these are not Hyperlambda, they’re generated through OpenAI, so they require an OpenAI API key in your configuration.
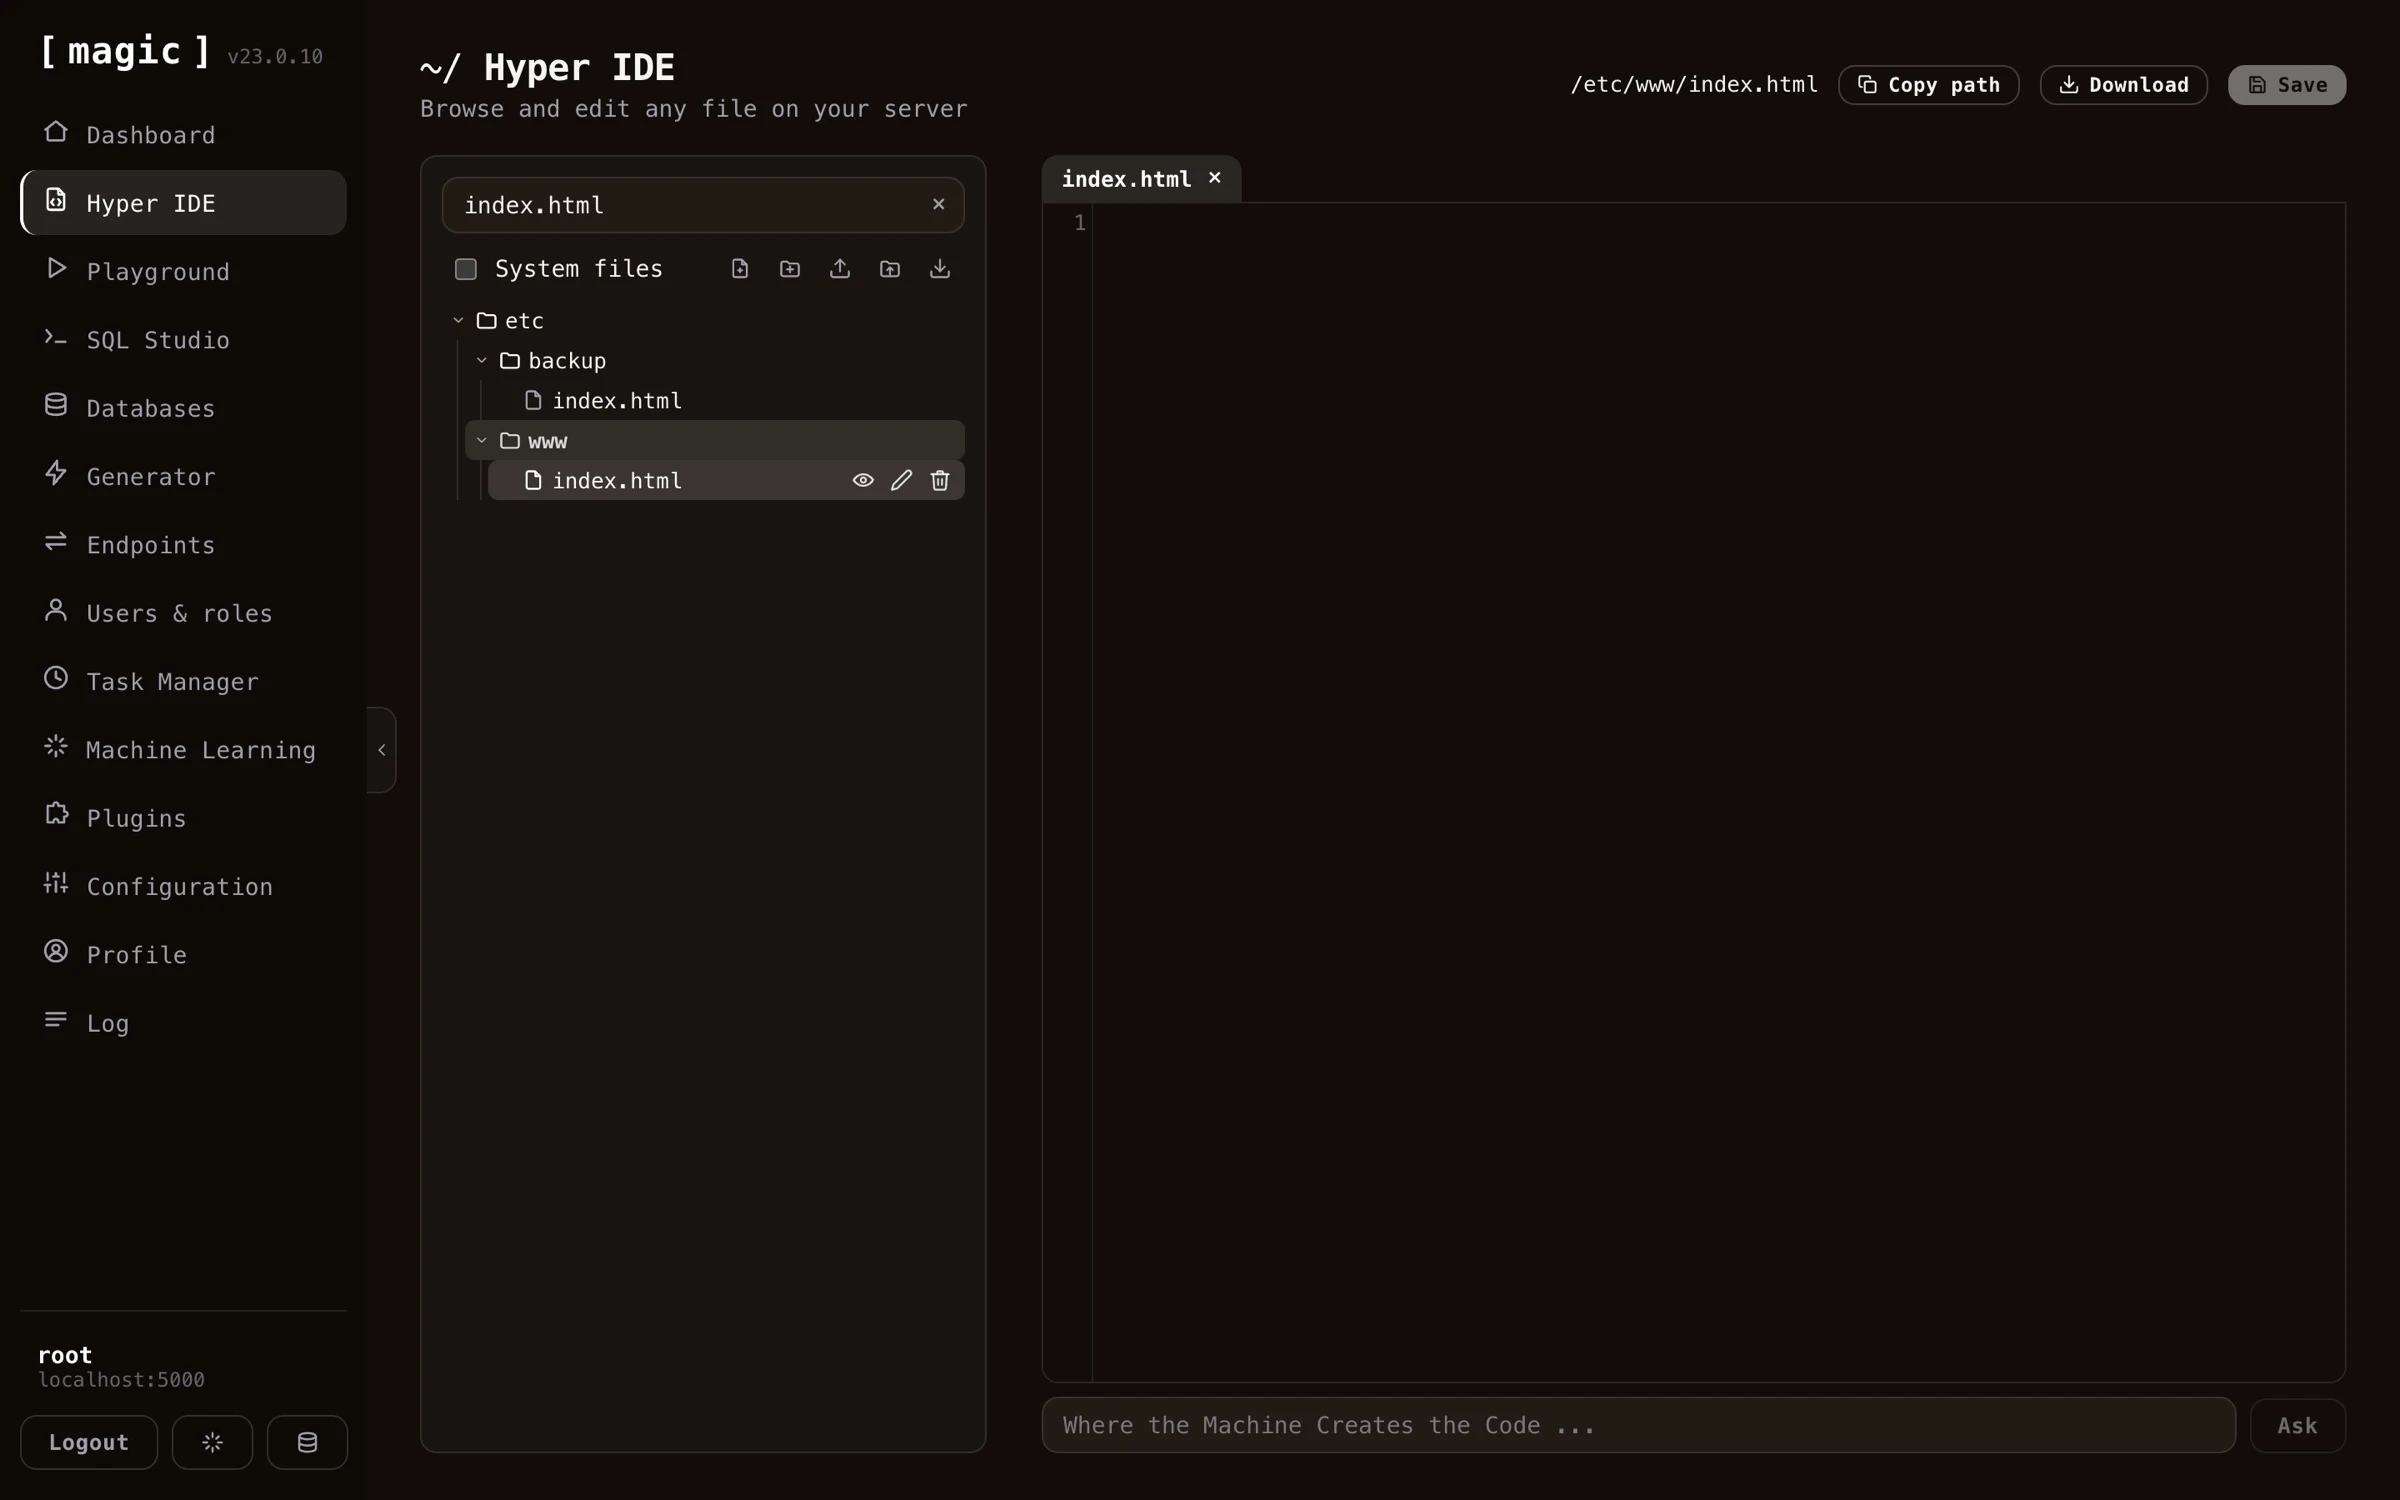
When you’re editing a file that lives under /etc/www/, Hyper IDE gives you a “Preview” action on the file, that opens the served page in a new browser tab, allowing you to see your changes exactly as a visitor to your site would.
Modules
Magic is modularized, allowing you to easily move modules from one machine to another. This is the purpose of your “/modules/” folder, as in each folder inside this folder is considered a module in Magic.
If you’re developing a module in your own local installation of Magic, you can mark the folder in the tree control, and click the action button for downloading the folder. This will give you a zip file you can easily upload to another server using the install module action button.
Git support
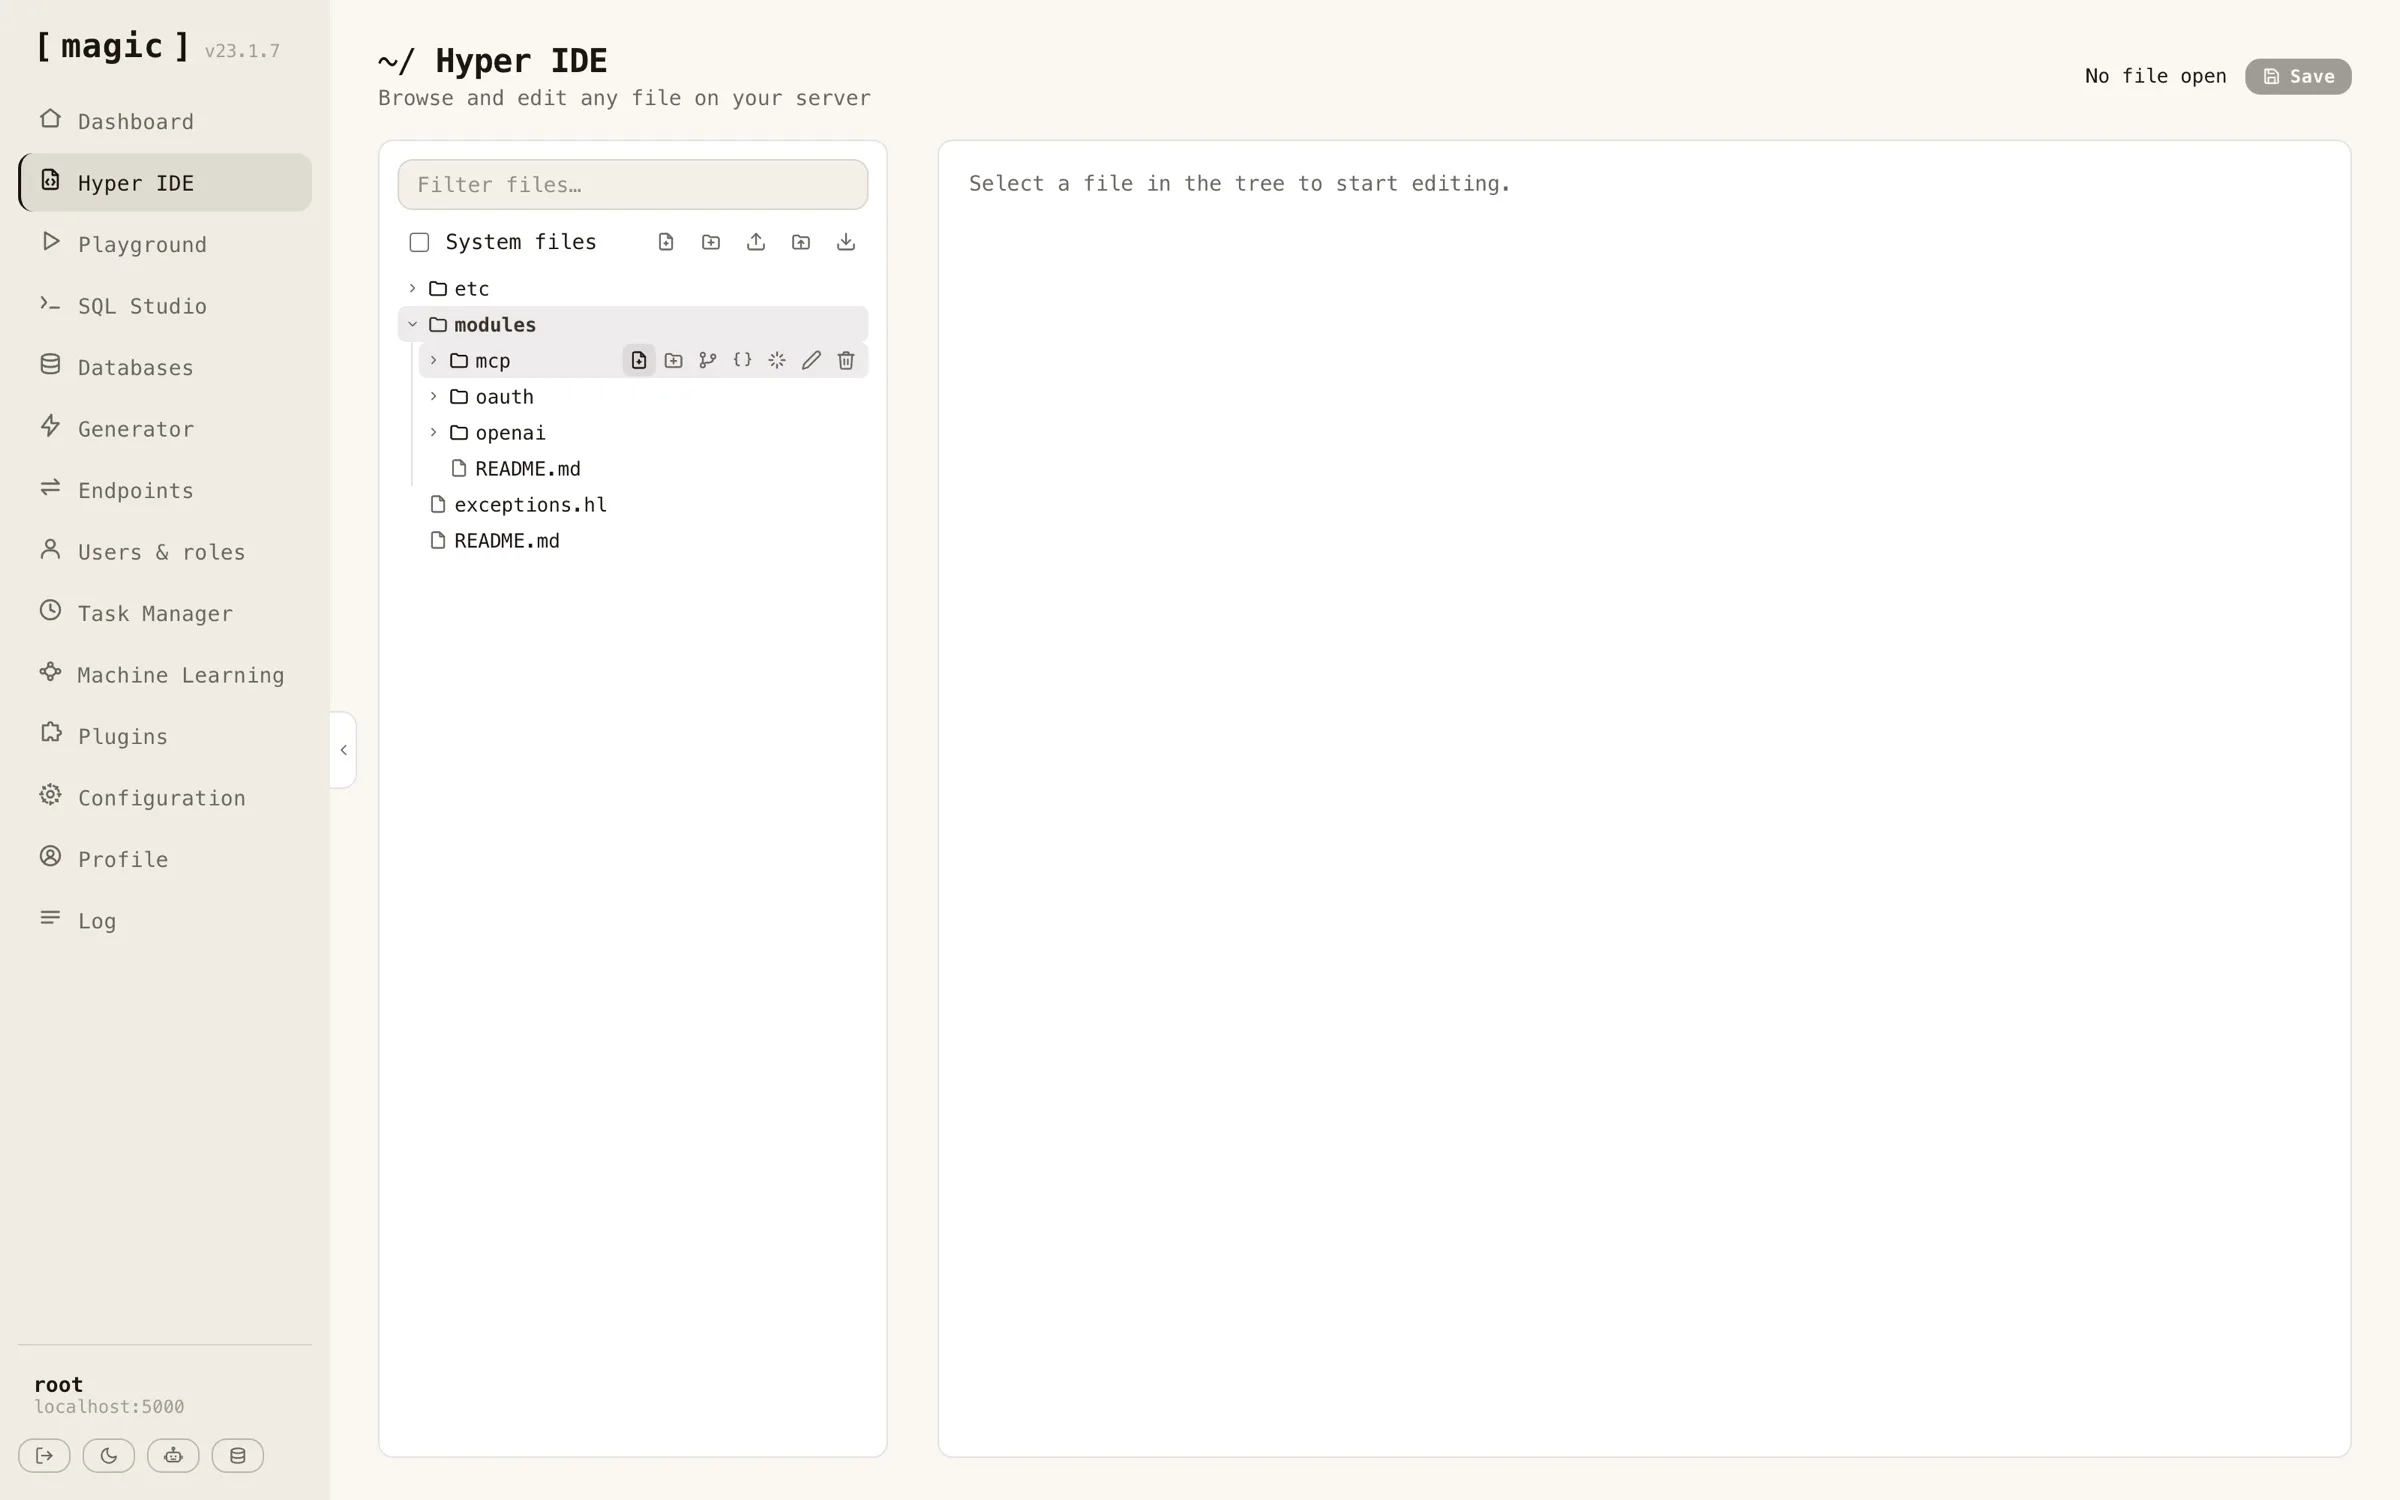
Every module can be its own Git repository, and Hyper IDE has Git built in. Top level folders inside your “/modules/” and “/etc/” folders are treated as repository roots, and hovering such a folder in the tree reveals its action buttons - the branch icon opens the Git panel for that module.
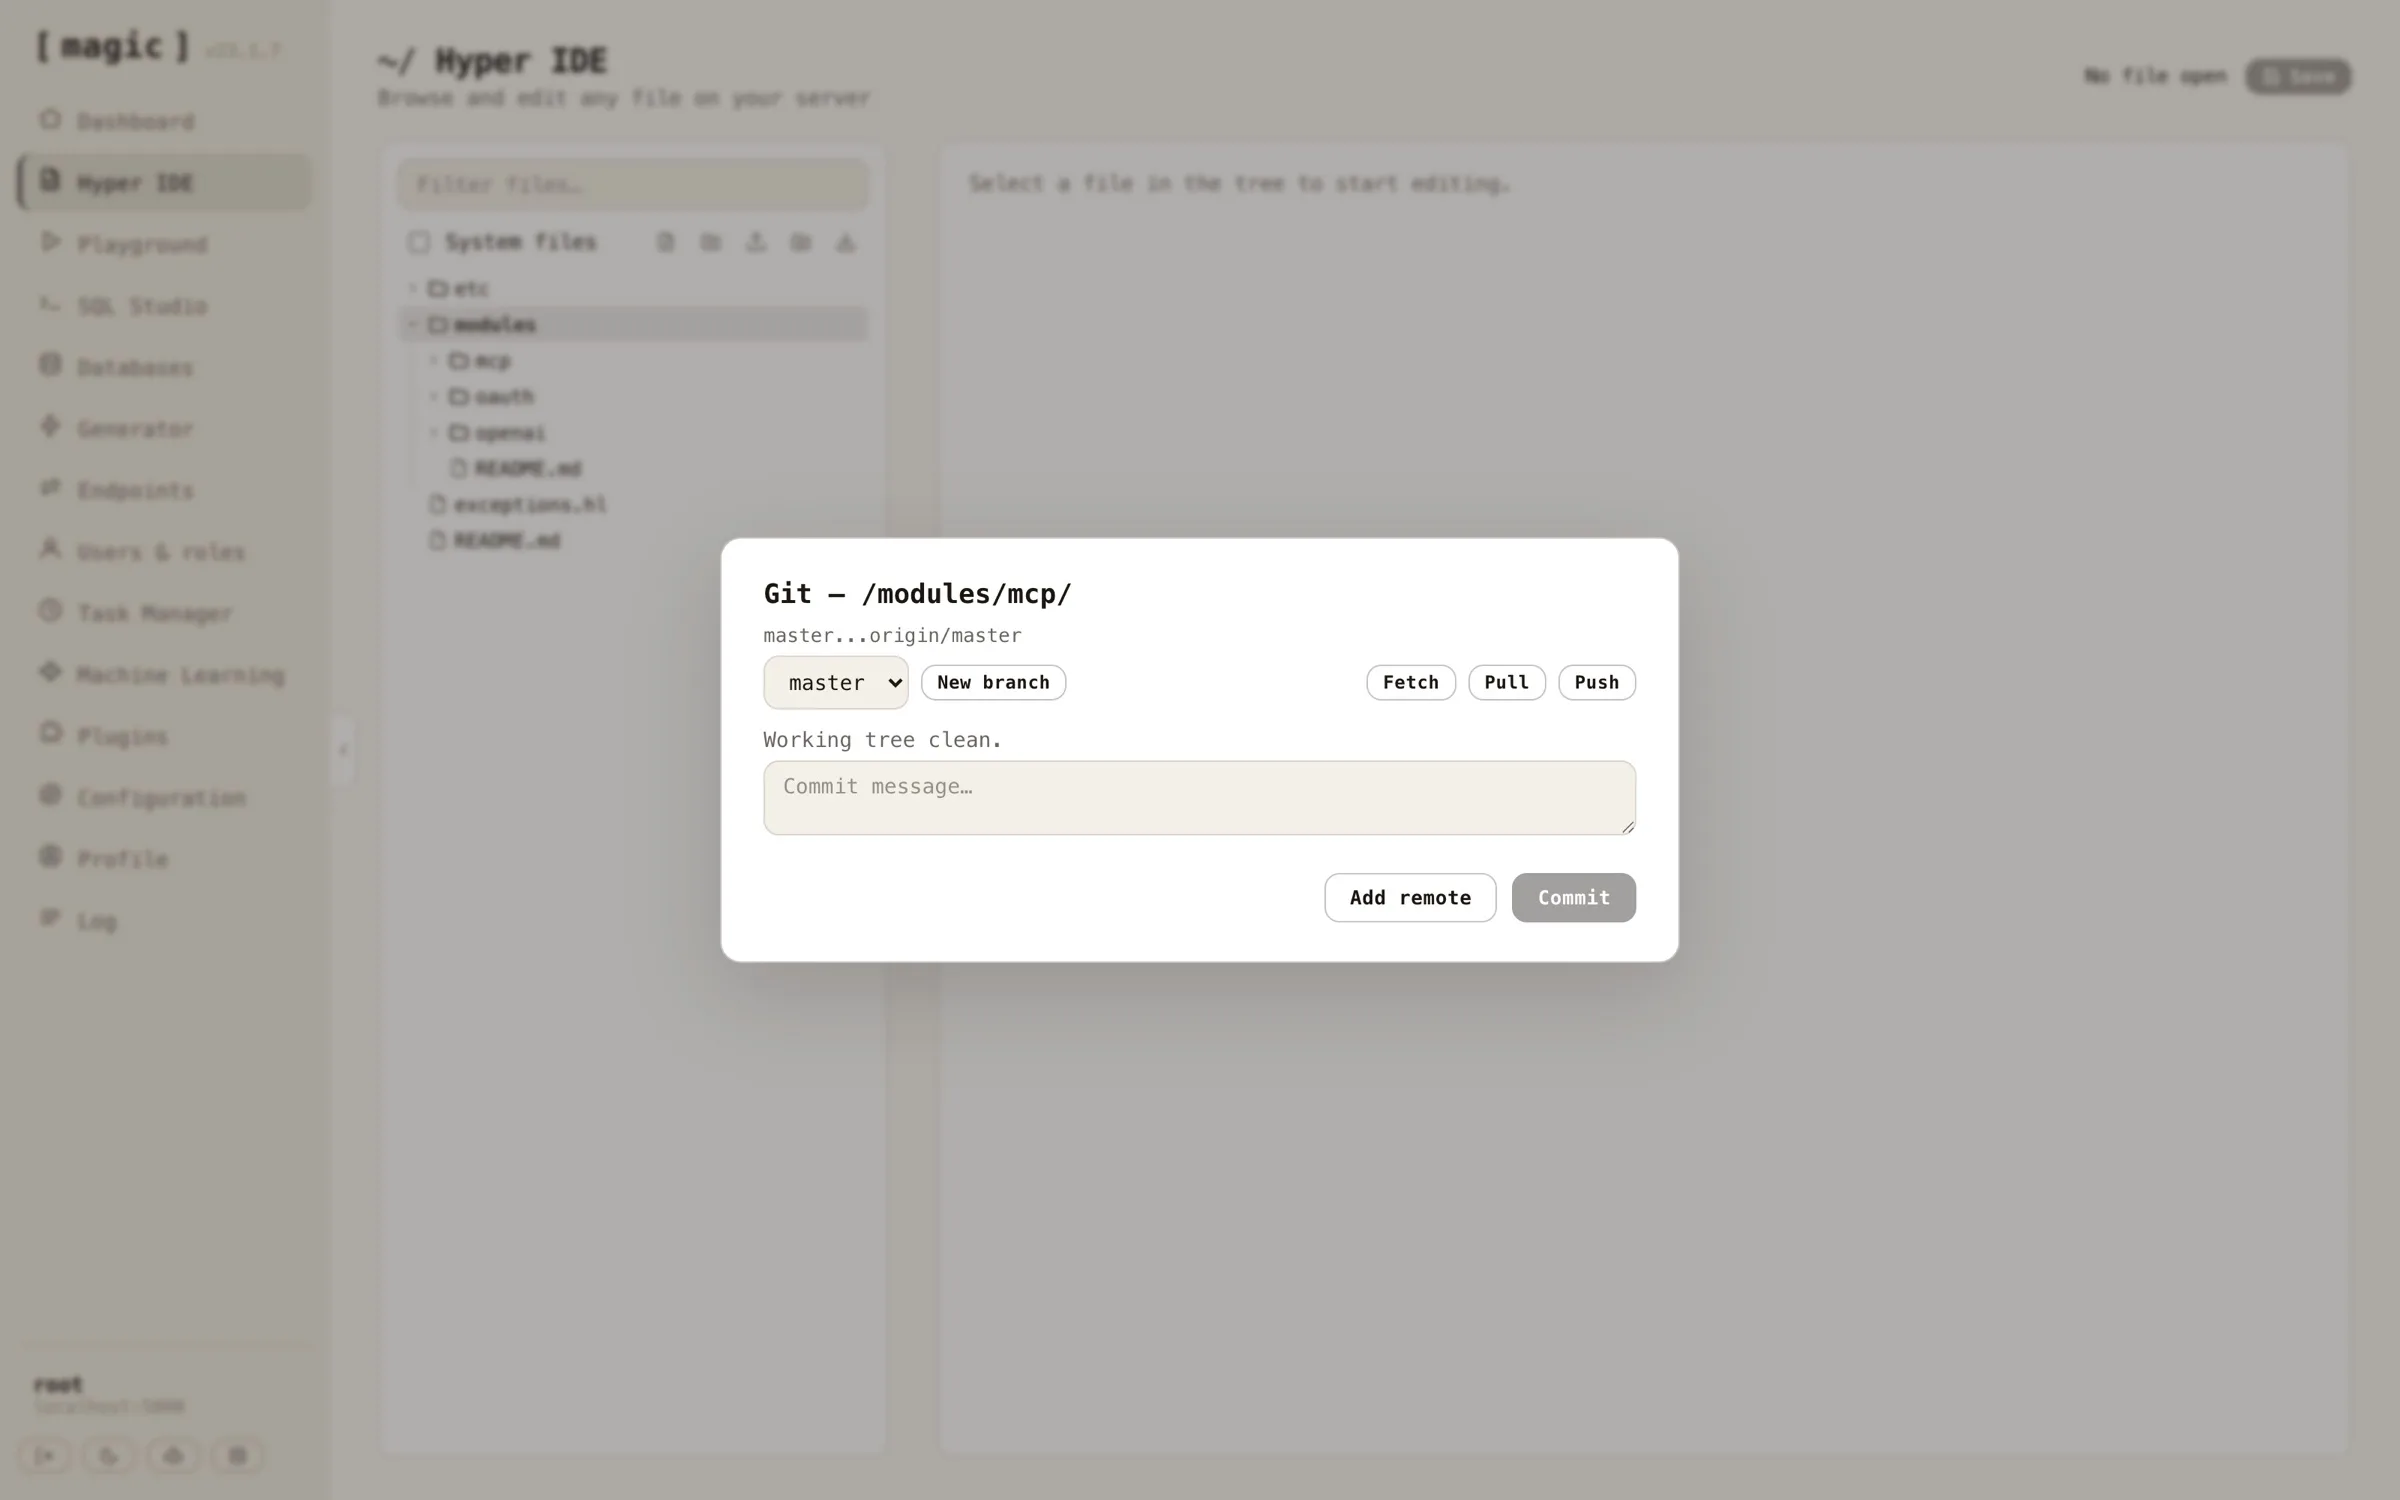
For a folder that already is a repository, the panel shows which branch you’re on, whether you’re ahead of or behind your remote, and every modified and untracked file. From here you can commit all changes with a message, push and pull, fetch from your remote, switch branches, and create new branches. Buttons that cannot possibly work in the repository’s current state are disabled - push for instance is only enabled when you actually have commits your remote doesn’t.
Each changed file is a row you can expand. Expanding it shows the file’s diff against HEAD, with additions and removals coloured, so you can read exactly what a commit will contain before writing its message. Untracked files show their whole content as additions, since there is no earlier version to compare with. Hovering a tracked file’s row reveals a reset button that throws away that file’s uncommitted changes and restores what HEAD has - both in the working tree and in any tab you have the file open in, so a later save cannot bring the discarded content back. The “Reset to HEAD…” button does the same for the entire repository, and in addition deletes every untracked file and folder, leaving the module identical to its last commit. Both ask for confirmation first, and neither can be undone.
Before your first commit, add your GitHub username and a fine-grained personal access token with “Contents” read and write access to your configuration. Open the “Configuration” screen, click the hamburger menu at the top, and choose “Git…” to get a dialog doing this for you.
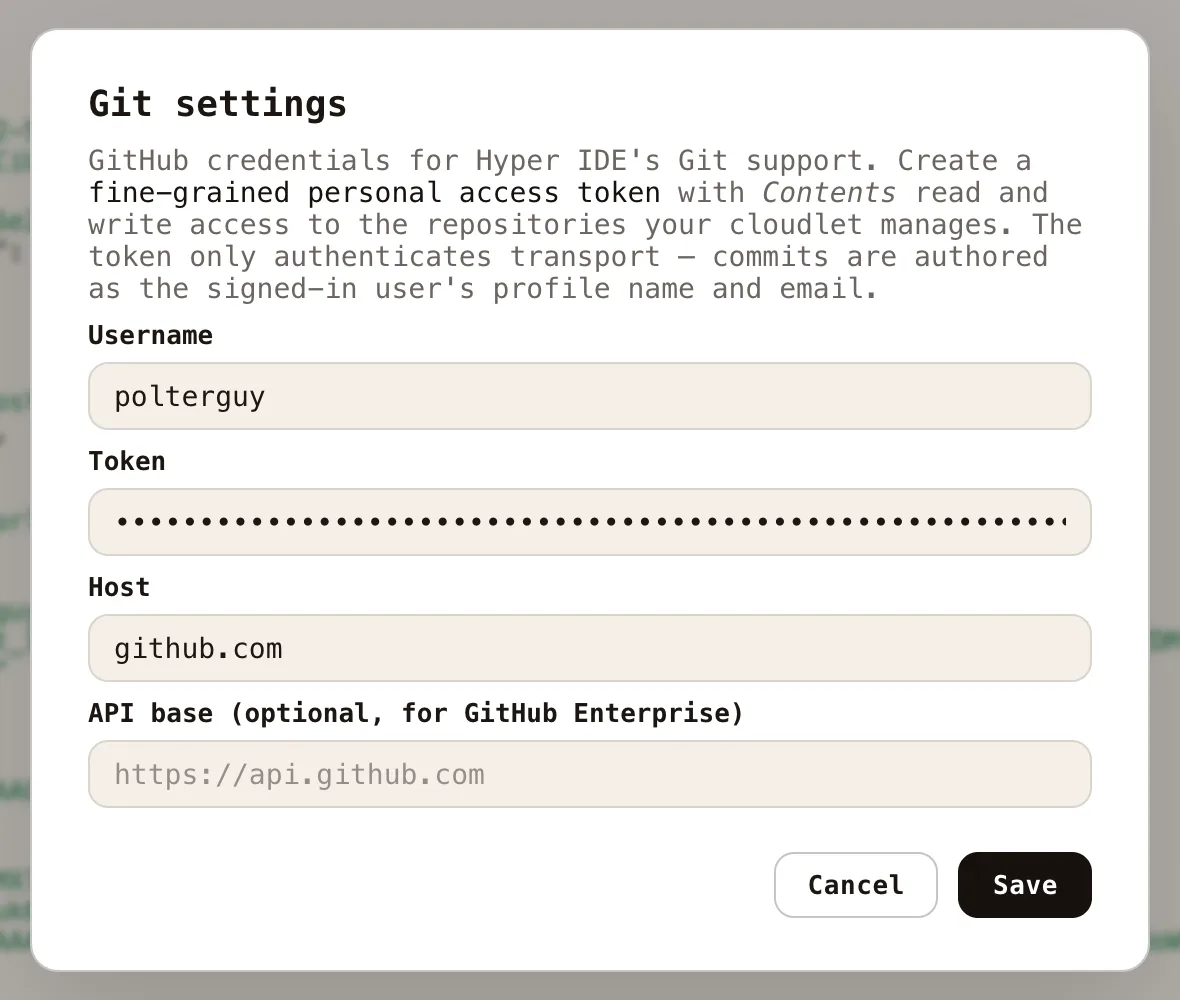
Authentication is injected per invocation over HTTPS; nothing is ever written to the server’s global Git configuration, and no SSH keys are involved. Commits are attributed to you - the author name and email are resolved from the authenticated user’s profile, so commits made from Hyper IDE show up on GitHub with your name on them, not some shared server identity.
Publishing a module as a new GitHub repository
To turn an existing module into a brand new GitHub repository, hover the module’s folder and click the Git action. If the folder isn’t a repository yet, click “Initialize repository” first, then write a commit message and click “Commit”. With your first commit in place, click “Publish to GitHub…”, and give your new repository a name - it defaults to the module’s folder name.
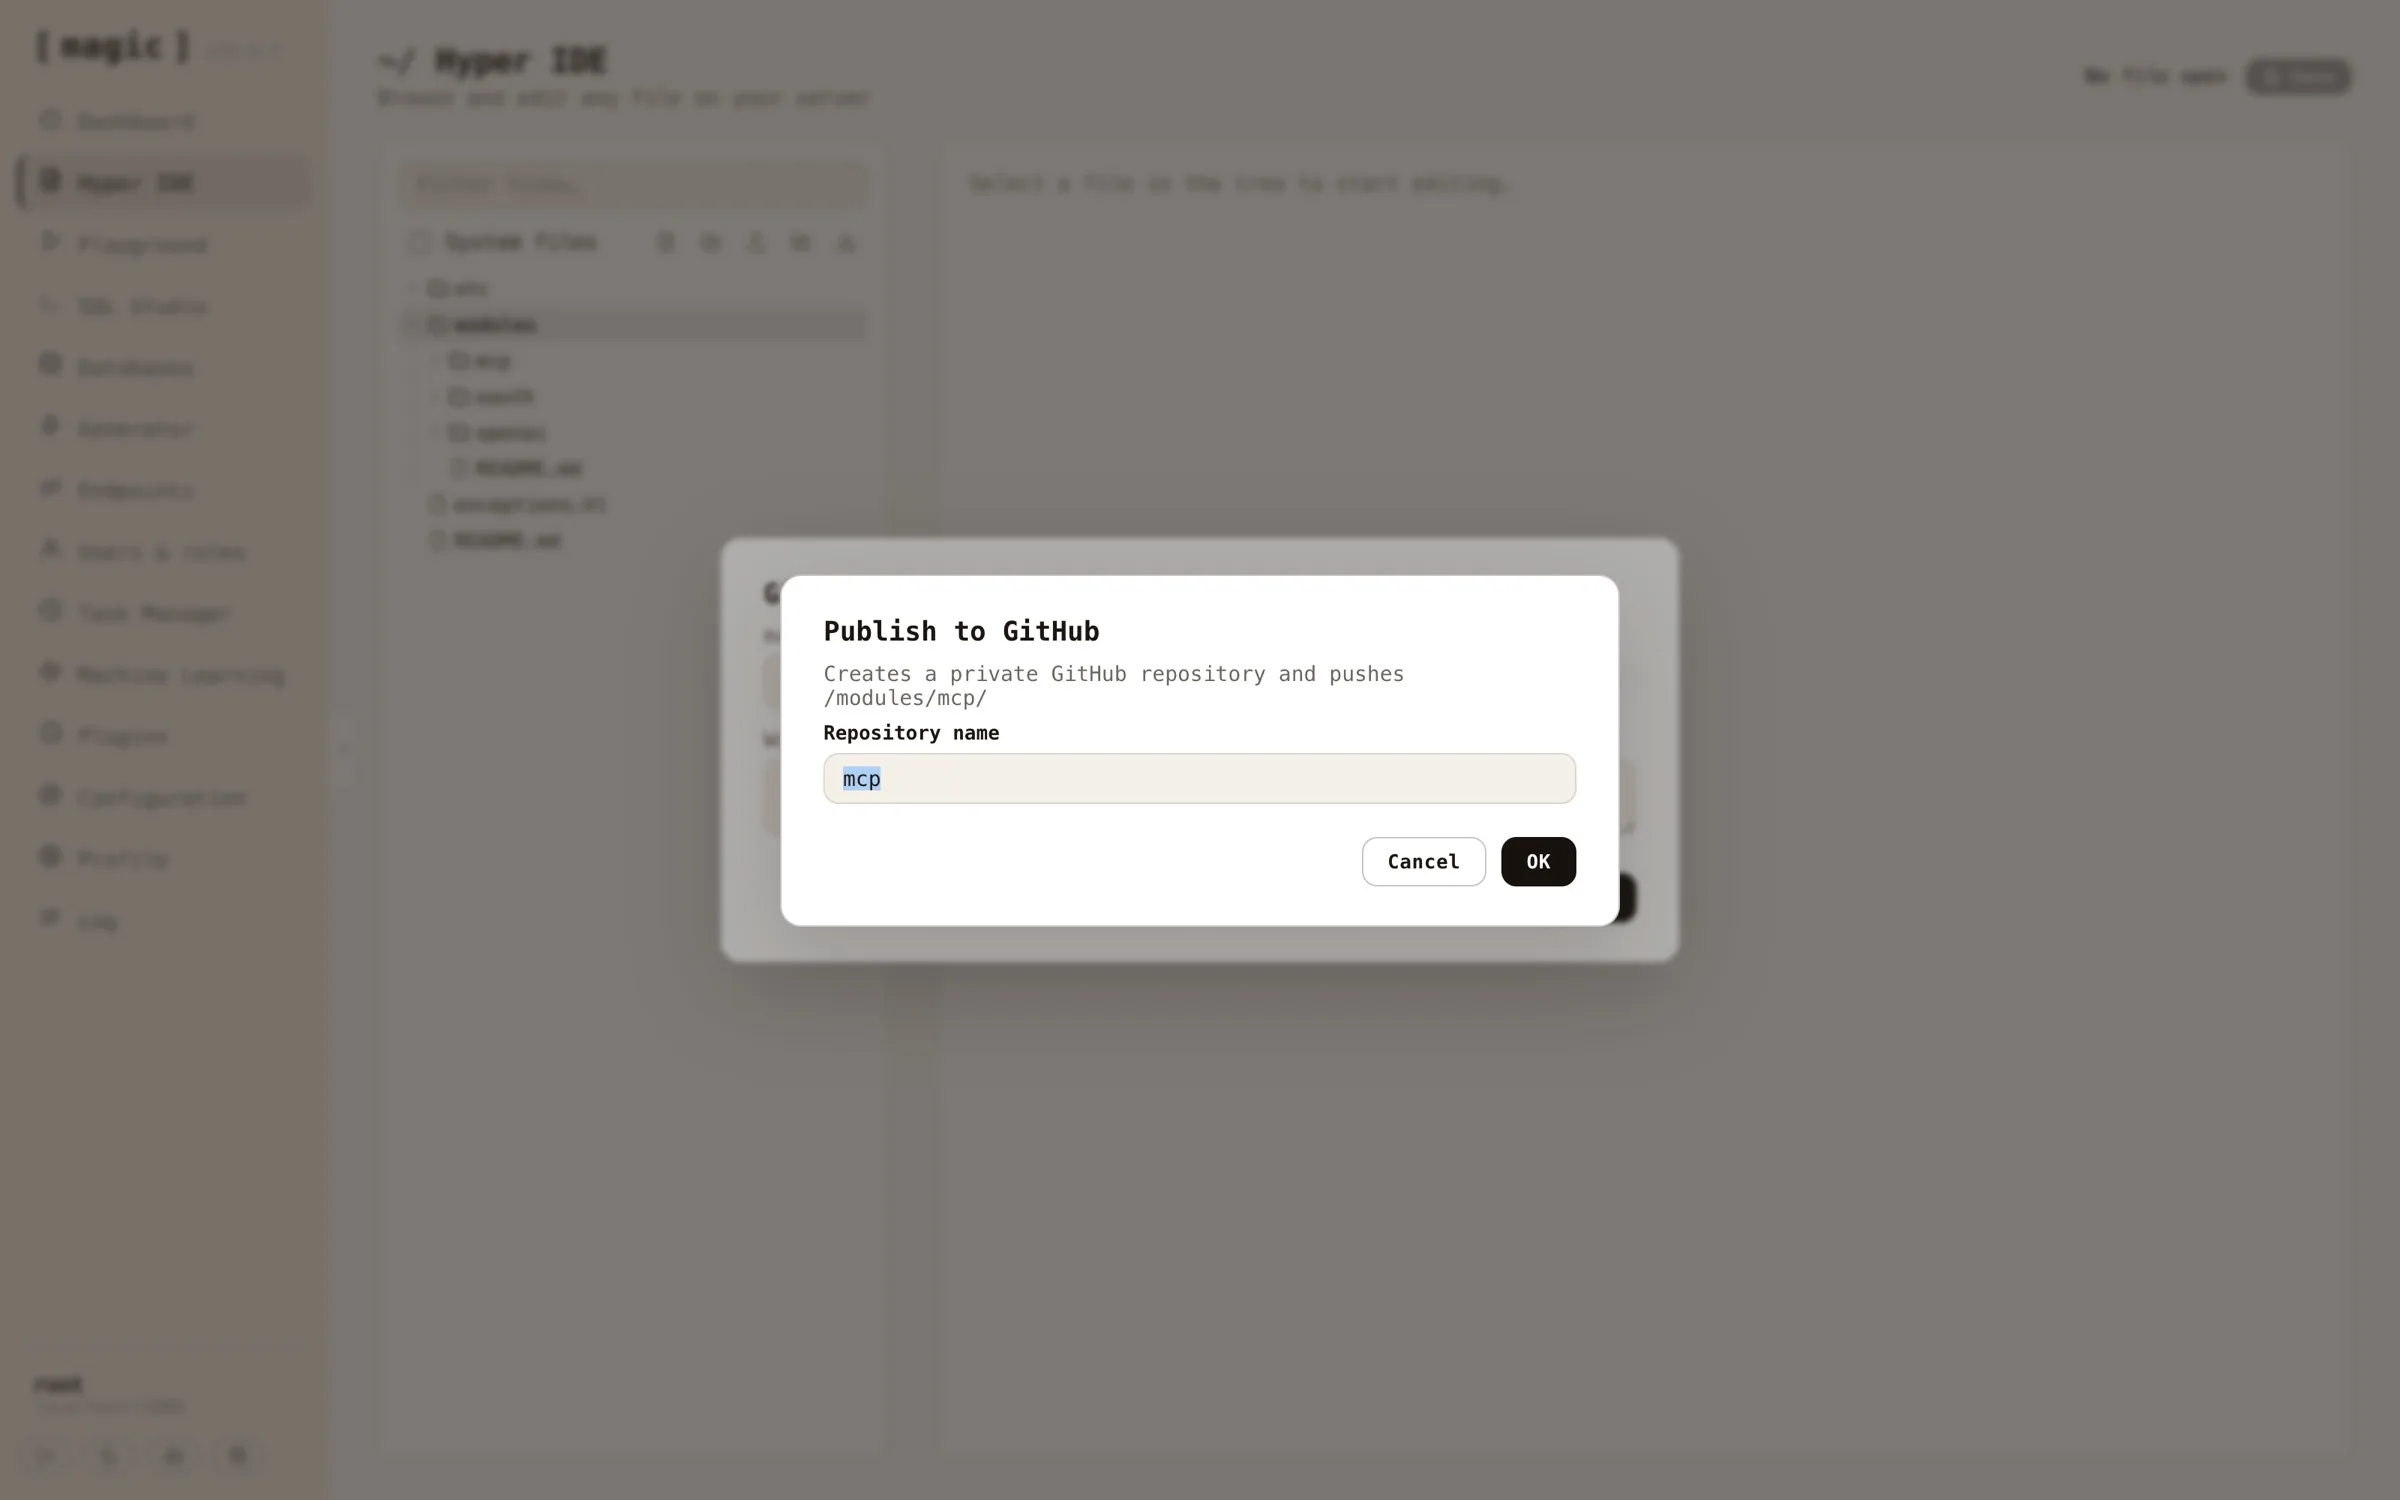
One click later your module exists as a private repository on GitHub, wired up as the module’s “origin” remote, with your commit pushed and upstream tracking configured - the panel creates the repository, adds the remote, and pushes in one go. Flip the repository to public on GitHub if that’s what you want. Notice, creating repositories requires the account level repository creation permission on your access token, in addition to the “Contents” permission that reading and writing them needs.
Cloning an existing GitHub repository
To deploy a module you already version control on GitHub, create a new empty folder inside “/modules/” using the new folder action, then open the Git panel on it. A folder that isn’t a repository offers you two paths - cloning into it, or initializing it as a new repository. “Clone into folder” is only enabled while the folder is empty, since Git refuses to clone into a folder with existing contents.
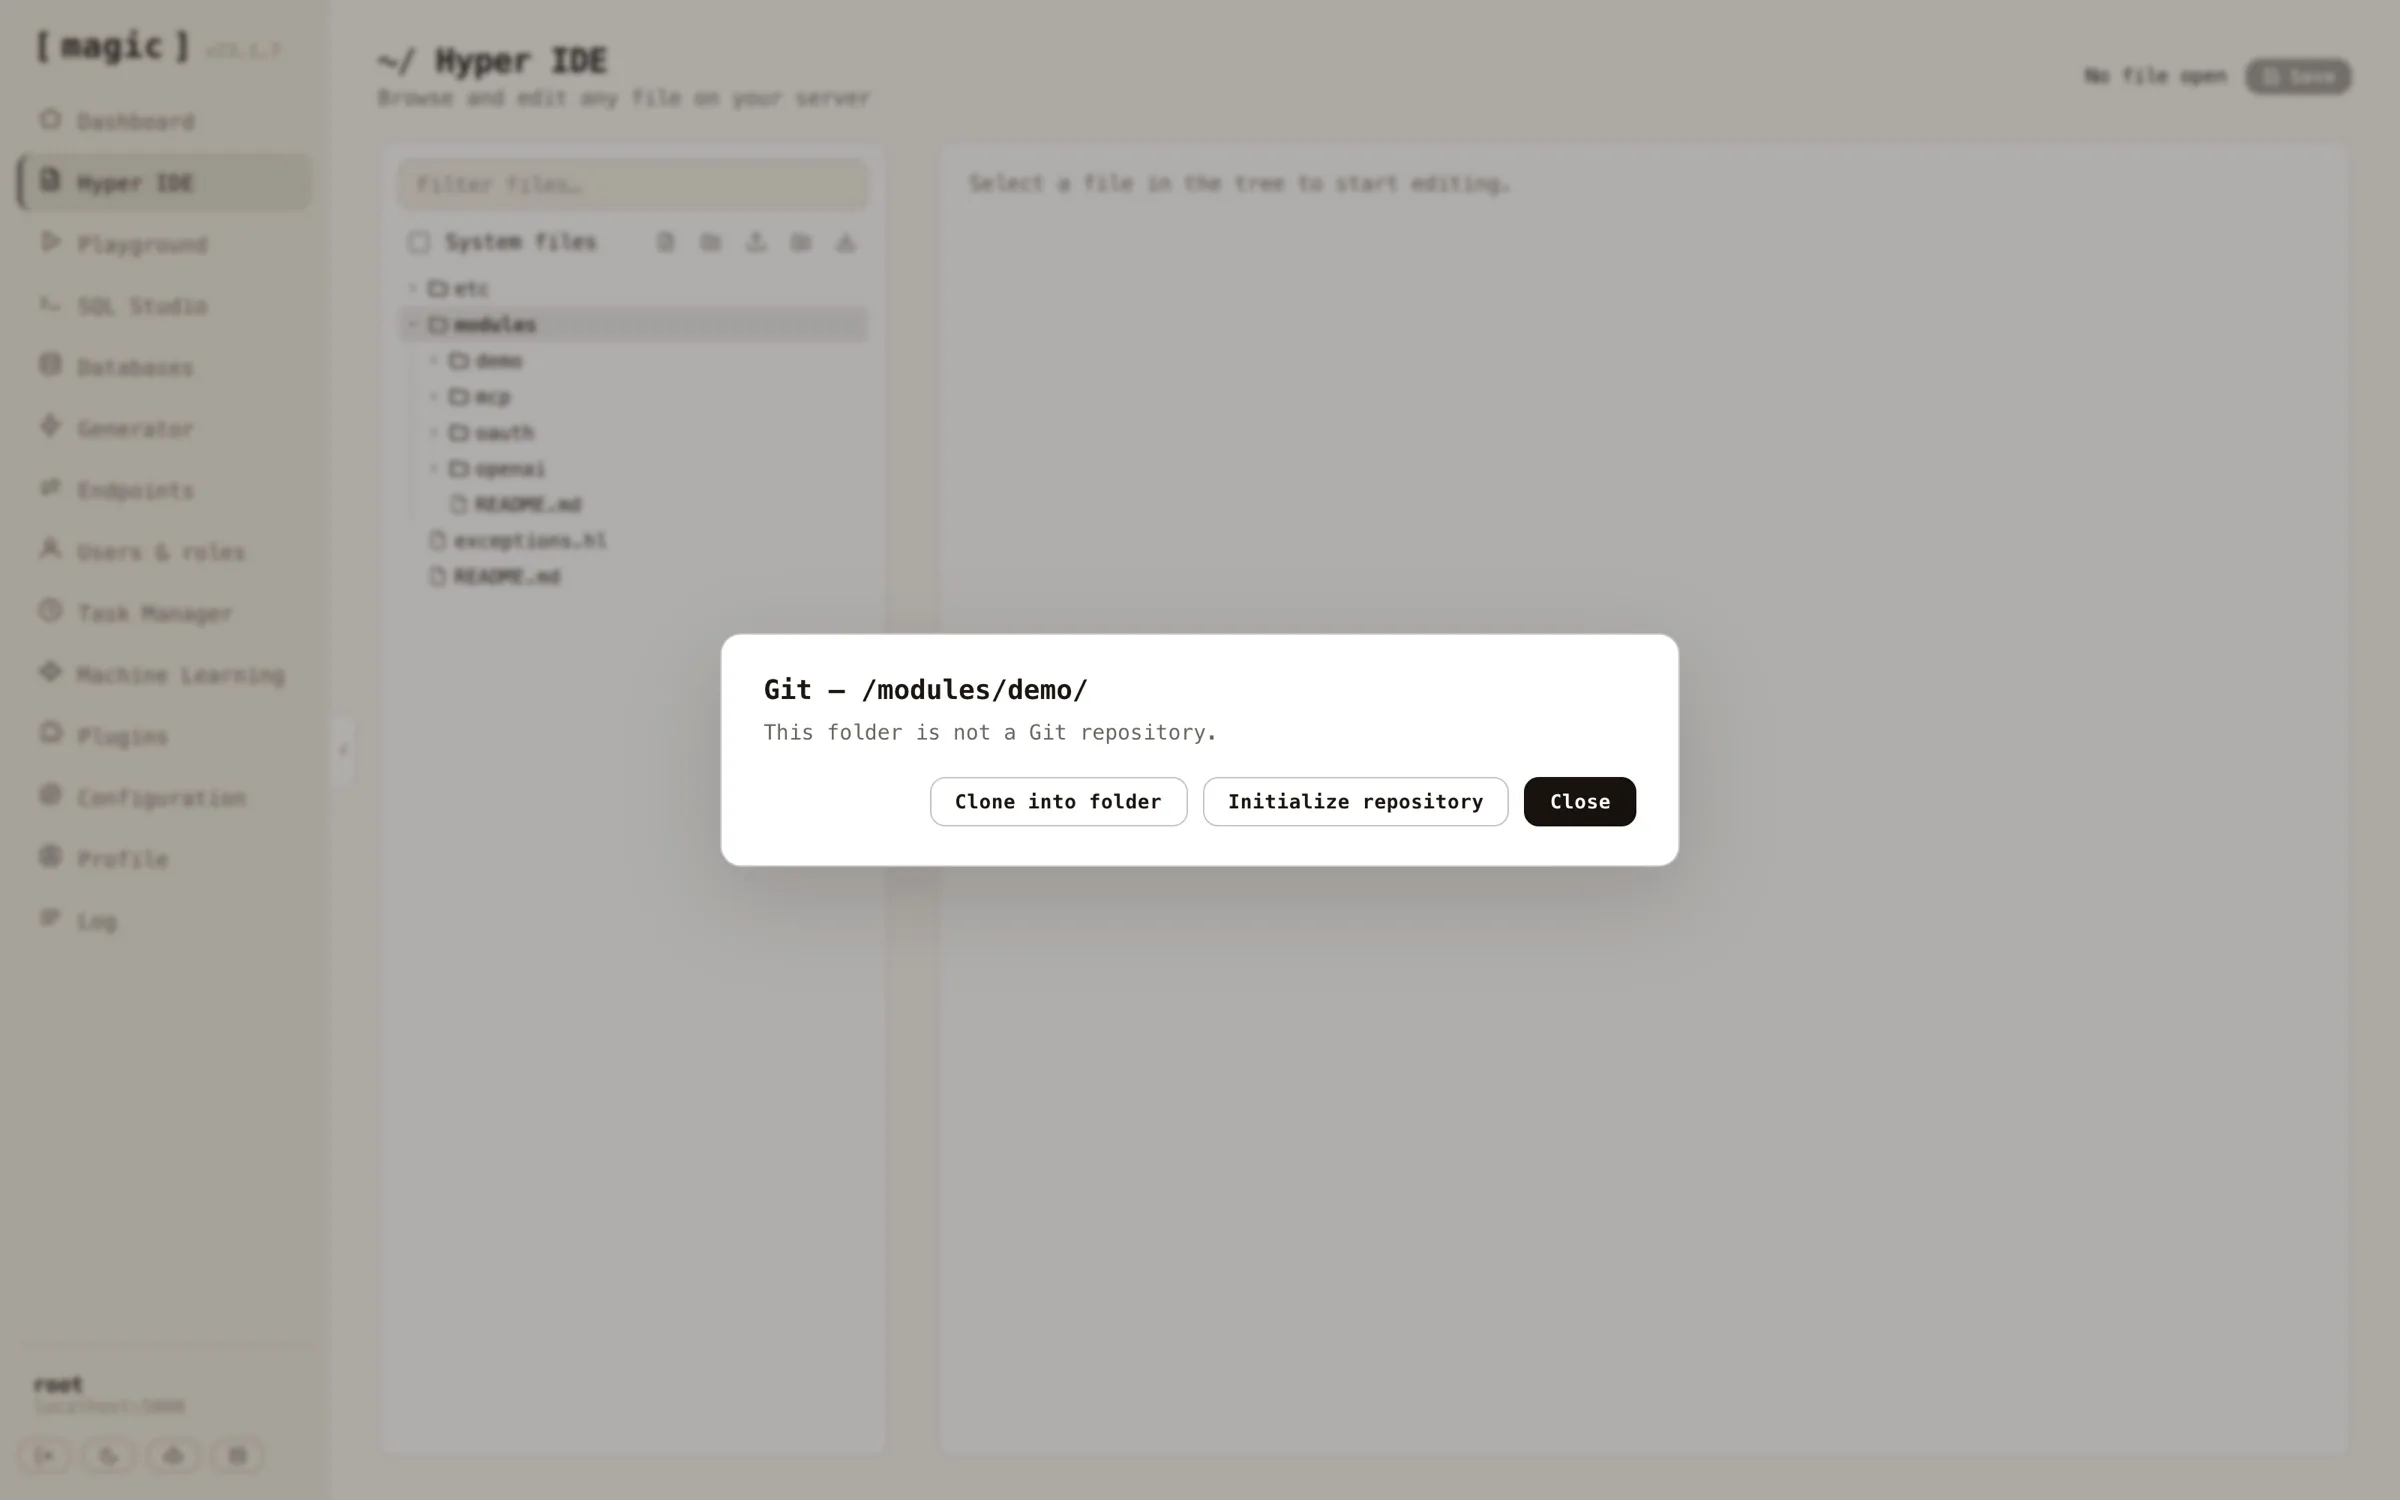
Click “Clone into folder” and paste the repository’s HTTPS URL - cloning checks out whatever the remote’s default branch is, and your module is running on the cloudlet with its full history attached.
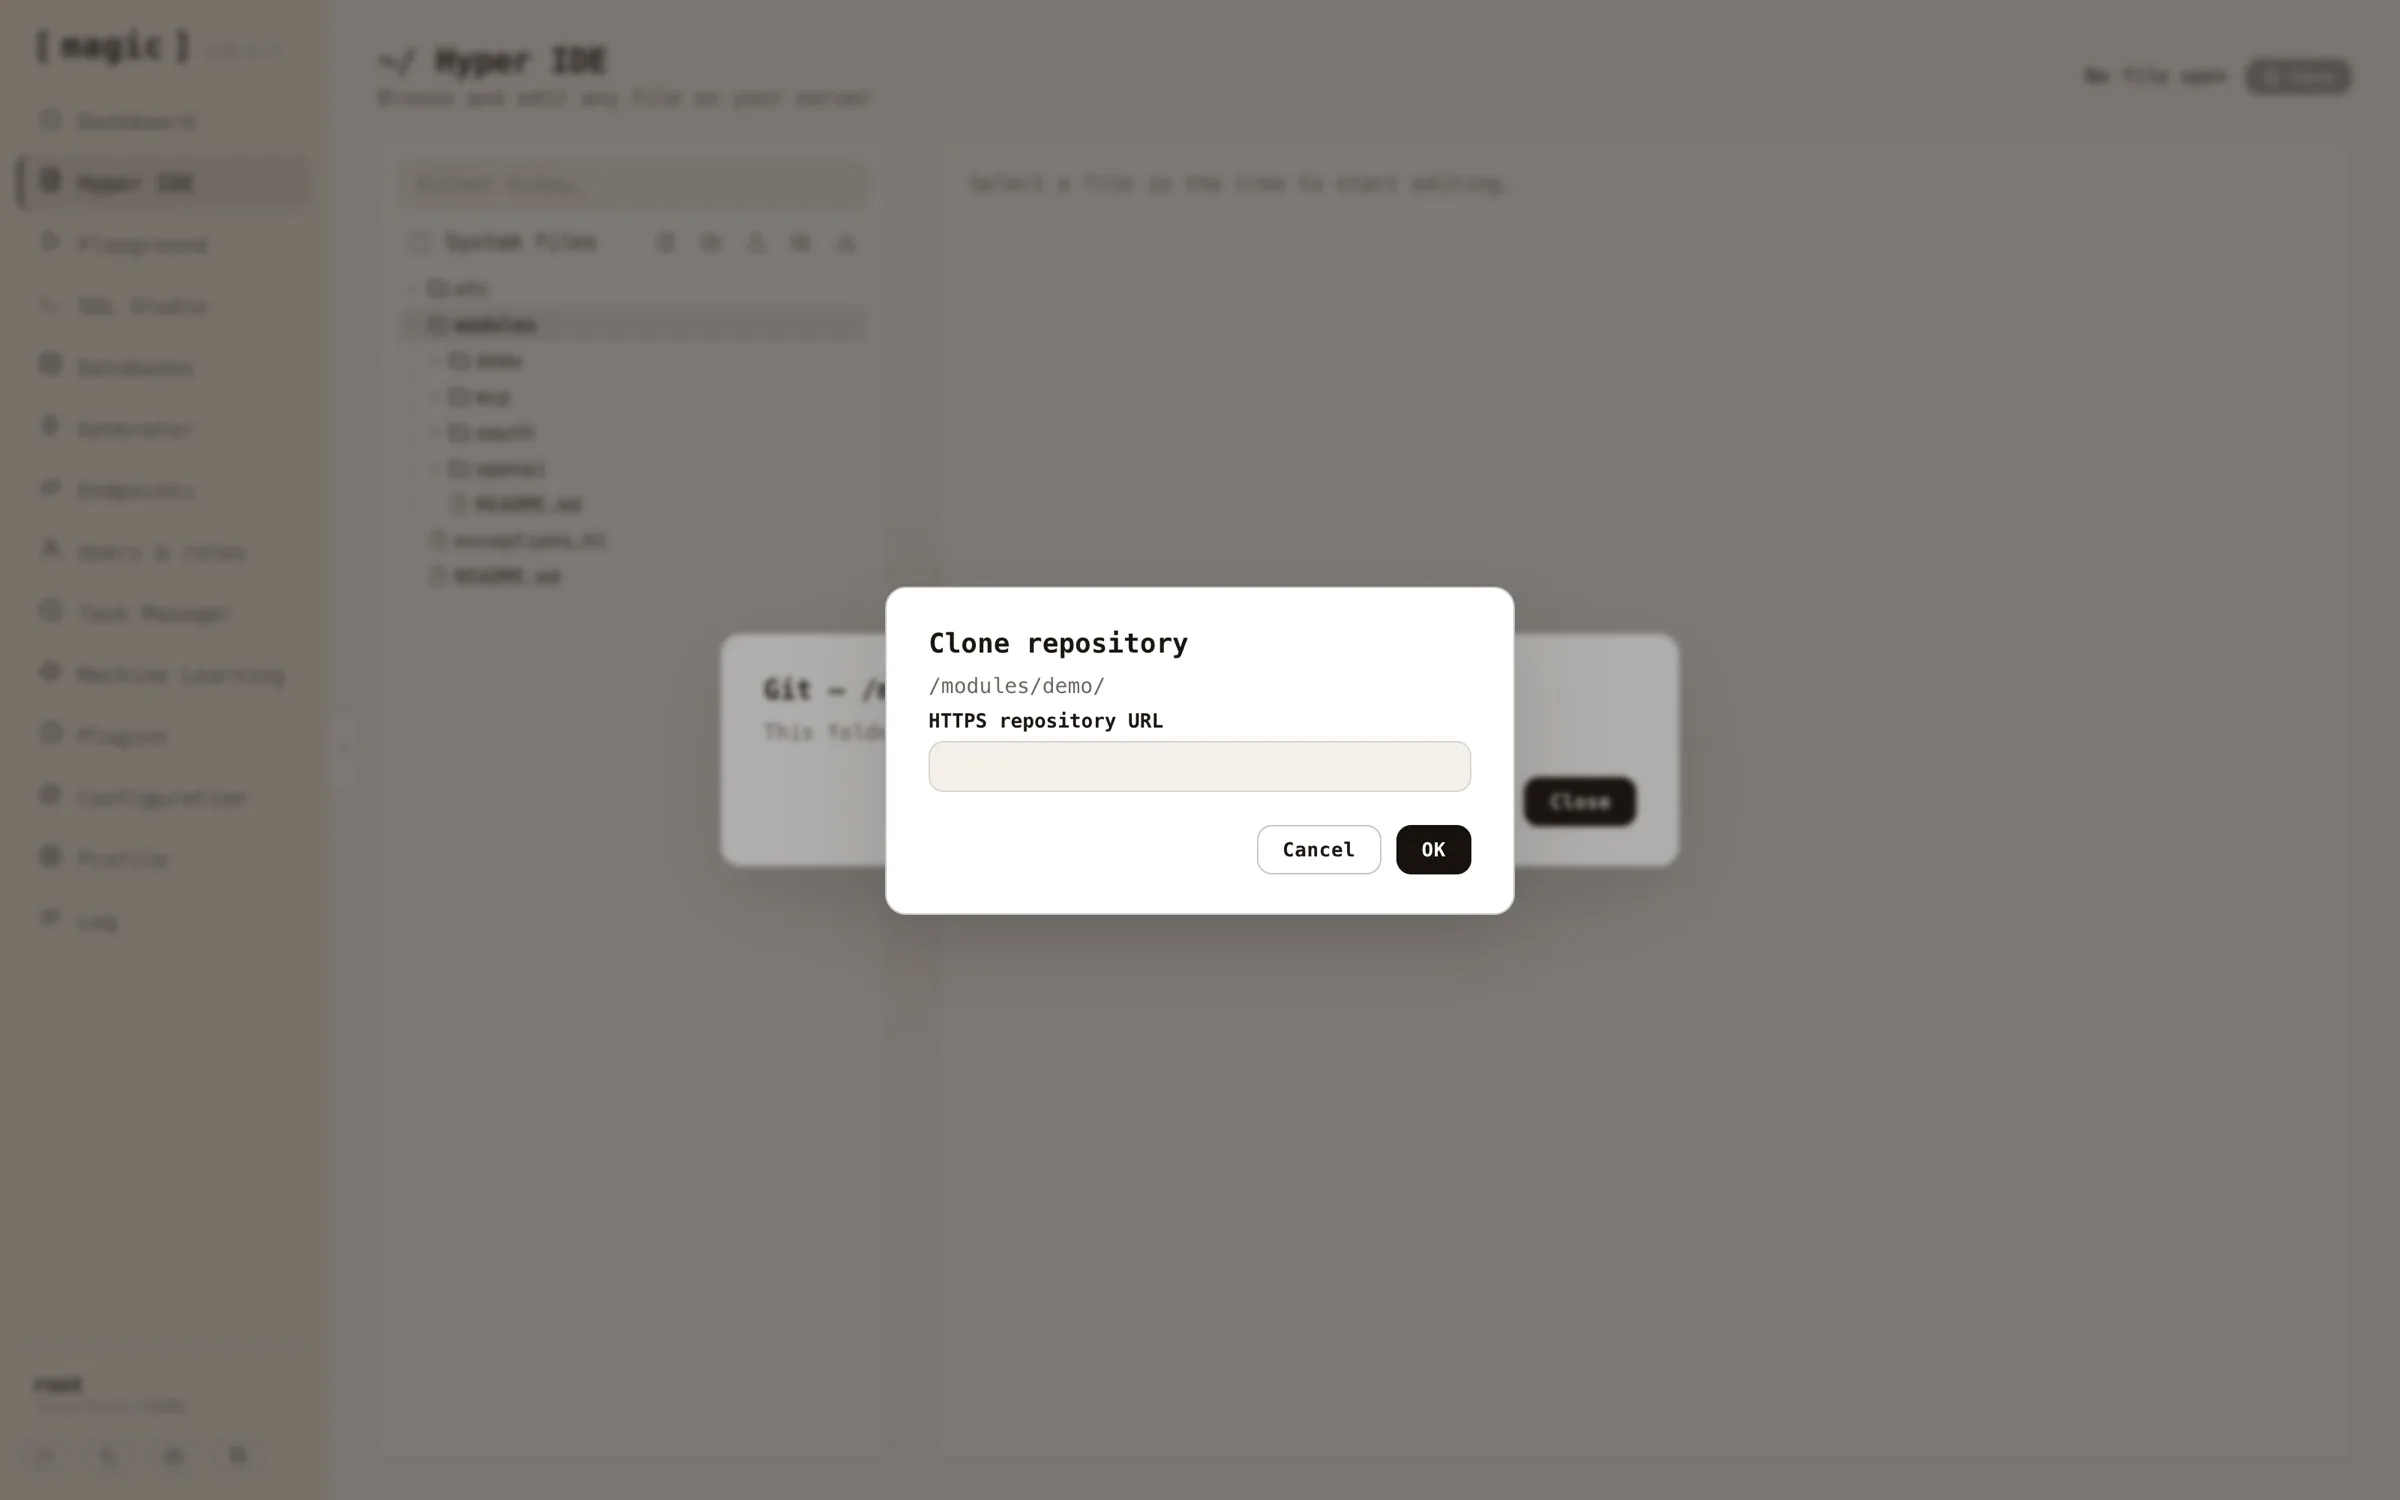
Since modules are self-contained folders, this gives you version control per module; develop a module on one cloudlet, publish it to GitHub, and clone it into another cloudlet - a natural companion to the zip-based module install described above, with history, branches and rollback included.
Continuous Integration and Deployment
You can even connect creation of such modules, and automatically deploying them to production through for instance a GitHub action using CI/CD, by creating a token using the “Generate token” feature on your Profile screen. This gives you a JWT token you can use to authenticate a process, such that it’s allowed to invoke your /magic/system/file-system/install-module endpoint. This will allow you to automatically upload a zip file, and re-install it after uploading it.
Frequently asked questions
What is Hyper IDE?
Hyper IDE is Magic's integrated development environment, running in your browser. It lets you browse and edit every file on your cloudlet, with syntax highlighting and autocomplete for Hyperlambda.
Can I debug Hyperlambda in Hyper IDE?
Yes. Click Debug instead of Invoke in the execution dialog, and Magic records every slot the file invokes, letting you step through the execution afterwards and see the entire lambda object as it looked after each step.
Does debugging slow down my cloudlet?
No. Recording is opt-in per execution and lives only in memory - code you run normally is completely unaffected, and nothing is written to disk.
Can I see what happened when my code throws an exception?
Yes, and that is where it helps most. The statement that threw is highlighted in red in both the step list and the code, and every step leading up to it is preserved - so you can see the state your code had built up at the moment it failed.
Can Hyper IDE generate code for me using AI?
Yes. Write a description of what you want your code to do, select it, and click Generate - or use the 'Where the Machine Creates the Code' bar below the editor. The Hyperlambda Generator transforms your English into working Hyperlambda in seconds.
Is the AI code generation free?
For Hyperlambda files, yes - generation goes through Magic's own proprietary model and requires no OpenAI API key. Other languages such as TypeScript, HTML and SQL are generated through OpenAI and require an API key in your configuration.
How do I test my code?
Since Hyperlambda is a dynamic language, you can save your file and immediately execute it by clicking F5, without compiling anything. If your code requires arguments, Hyper IDE asks you for them before executing.
What is the preferred way to build with Magic?
Connecting an orchestrator AI - such as Claude, Cursor, Codex or Qoder - to your cloudlet over MCP, and letting the agent generate endpoints, create database schemas, and deploy modules for you. Hyper IDE then becomes where you inspect, tweak, and debug what the agent produced.
Can I edit other languages than Hyperlambda?
Yes, you can edit TypeScript, Ruby, HTML, C# and other file types, although for those languages a dedicated IDE will typically serve you better. Hyper IDE's strength is Hyperlambda.
Does Hyper IDE have Git support?
Yes. Every top level folder inside /modules/ and /etc/ can be its own Git repository, and each has a Git action opening a panel where you can see status, expand any changed file to read its diff, discard changes per file or for the whole repository, commit, push, pull, fetch, and manage branches. Folders that aren't repositories yet can be initialized or cloned into. Commits are attributed to your profile's name and email, and GitHub authentication uses a personal access token from your configuration.
Can I build full stack apps with Hyper IDE?
Yes. Your cloudlet serves static files from /etc/www/, and the AI bar generates HTML, CSS and JavaScript too - so you can generate a frontend in plain English, wired to the CRUD API the Endpoint Generator created for your database, and host it straight from your cloudlet.
How do I move a module to another server?
Two ways; download the module folder as a zip and install it on the other server with the install module action - or push the module to GitHub with Hyper IDE's Git support and clone it into the other cloudlet, which also gives you history, branches and rollback.
What does F1 do?
F1 asks the integrated AI to explain the Hyperlambda code you have selected, giving you instant help understanding unfamiliar code.
What keyboard shortcuts does the dashboard support?
Ctrl+K opens a command palette jumping to any page, file, endpoint, task or model, Ctrl+. opens Chat Ops, and Ctrl+/ shows an overview of every shortcut - including the editor shortcuts for autocomplete, search, fullscreen, save, execute, and Hyper IDE's file actions.